A little while ago, I wrote a post about Find a Grave, and how I have been more active as a contributor. I have been going through my photos and doing some photo editing as I go. It’s been a great way to use my photography to help others, creating memorials that don’t exist yet, and contributing to existing memorials.
Find a Grave is a hub of burial information, that includes photos, burial information, biographies and so much more. It’s volunteer-run, as its members claim and fulfill photo requests to aid in genealogy research, transcribing gravestone photos, and creating memorials. It’s a great resource. When receiving a photo request, you will be given all the information available; cemetery name and location, deceased’s full name, and birth and death date if known. You may also be given the location of the grave, such as the lot or section. It’s up to you to claim this request and fulfill it. I would recommend only claiming requests that you know you can fulfill.
While looking through my photos I picked up on two very different styles of photography I have developed over the years; my personal style and my contributor style. They are both very different. One reflects what I see when visiting graveyards, and the other is the result of wanting to achieve the best photo for transcribing and reflecting what a person would see when visiting their loved one.
I thought it might be helpful to share some tips on how to get the best photos as a volunteer photographer for Find a Grave. If you are just getting started or looking for some new ideas, here are some tips to help you get great photos:
Once you have claimed your photo request, the fun can begin!
- Always take a photo of the cemetery sign when you first enter. Not only can this photo be added to Find a Grave, but it will also make it much easier when looking back at your photos to determine which photos were taken in which cemetery. This is especially helpful when visiting multiple cemeteries in a day. I would also suggest taking photos of any other signs that may be at the entrance. Sometimes you can find plaques describing when the cemetery was established and its history. These are always interesting to find.

Notre-Dame Cemetery, Ottawa ON ©2009
- Visit the cemetery office, if there is one. Sometimes, they carry cemetery maps to some of the more notable graves, and also show the layout of the cemetery. This is most often the case in larger cemeteries.
- Keep the grave information you are looking for handy, so you can refer to it easily when needed. Find a Grave now has an app that makes this super easy to do. The app is available for both Android and Apple OS. Before the app, I would take a screenshot on my phone and refer to that photo.
When you have found your stone:
- For headstones flush to the ground, it does not hurt to brush away any debris like leaves or grass to make sure the stone is legible.
- Take photos of the headstone face on, this makes reading the inscriptions easier.
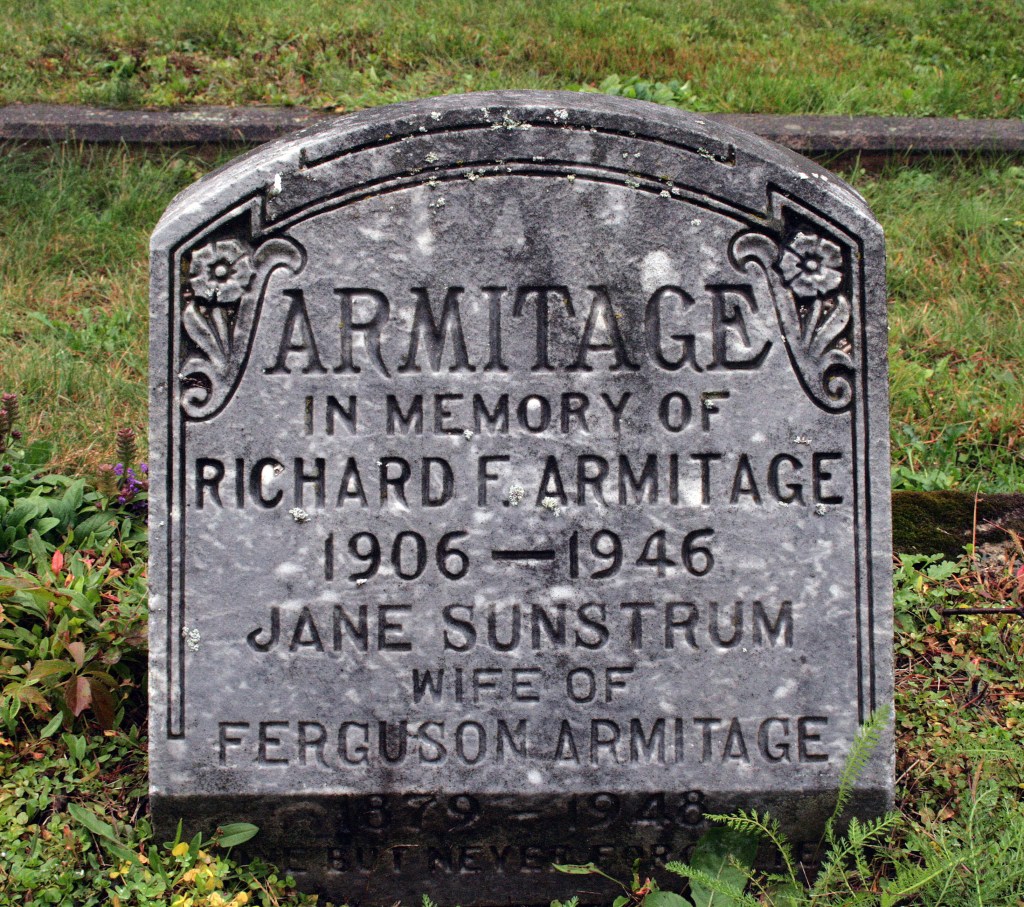
Union Cemetery, Sturgeon Falls ON ©2021
- Make sure to check the back of the headstone for any additional inscriptions. This is important for obelisk stones as they often have multiple family members inscribed on each side.
- Take a wide-angle shot to show placement or unique features of the grave, such as footstones.
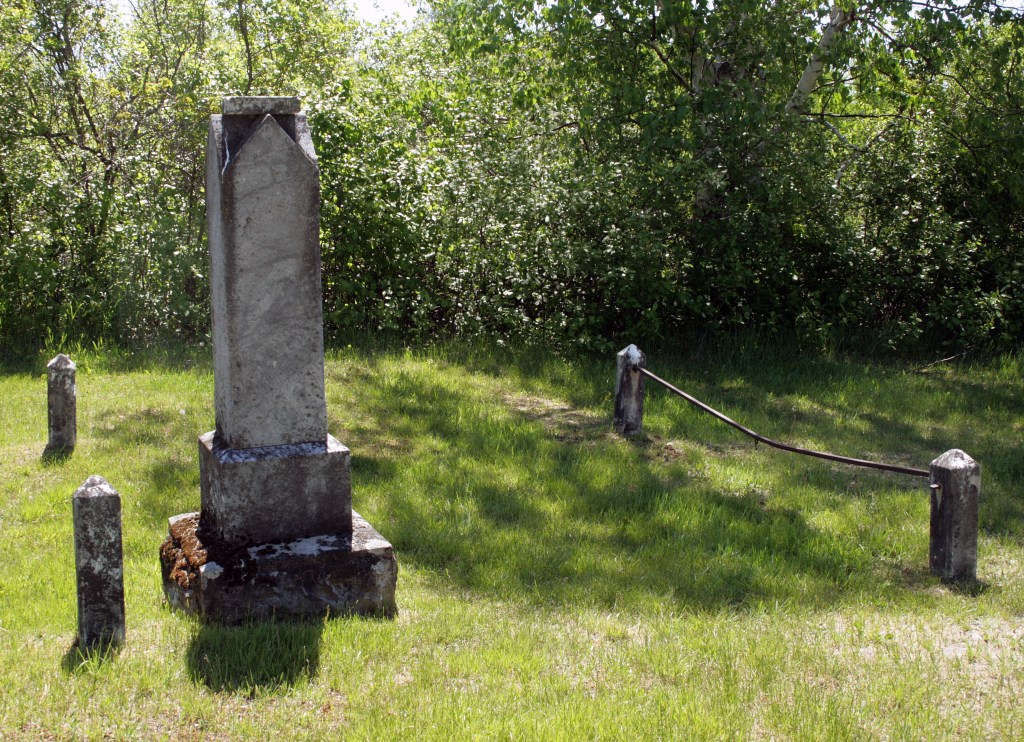
Britt Holy Family Church Cemetery, Britt ON ©2021
- Take a close-up shot of ceramic portraits if they are present.

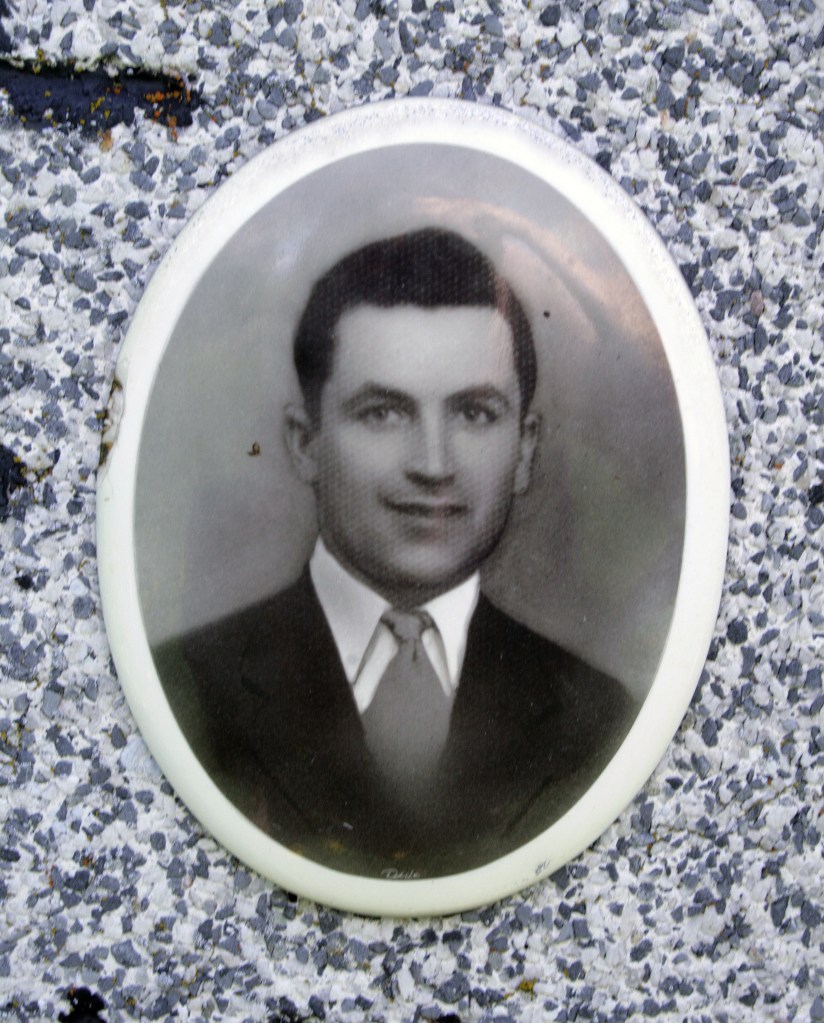
Blezard Valley Cemetery, Blezard Valley ON ©2021
Are you excited to get out there and take some photos? Let me know if you found my tips helpful. Do you have some tips you would like to share? Let me know in the comments.
Thanks for reading!


