Summer is barbecue season!
It’s the perfect time to fire up the grill, gather friends and family, and enjoy long summer evenings filled with good food and good company. So while researching gravestone recipes online, I came across what felt like the perfect summer cemetery recipe to try.
The grave of Jono Bot features more than just his name and dates. His monument also includes one of his favourite marinade recipes, permanently etched in stone. It features an airbrushed image of Jono grilling at a barbecue, with a recipe inscribed in his own handwriting.1
The Story Behind the Stone
Jon Breen “Jono” Bot was born on January 26, 1956.² He grew up near Luverne, Minnesota, before building a name for himself in nearby Sioux Falls, South Dakota. There, he owned several restaurants and bars that became gathering places for good food, live music, and spending time with friends and family.3
One of his best-known contributions was JonoFest, a music event named after him that celebrated local bands and became a Sioux Falls tradition.3 The festival drew thousands of people over the years and reflected his strong connection to the local music scene and community.
That love of food and hospitality comes through clearly in his memorial. Instead of choosing a traditional design, Jono’s gravestone celebrates something he genuinely loved doing. The result is a very personal memorial that immediately catches your attention.
Recipe gravestones are always fascinating because they preserve something from everyday life. Some memorials focus on careers, hobbies, or favourite quotes. Others, like this one, celebrate the simple moments that bring people together.
Jono passed away on September 25, 2018, at the age of 62.2 He is laid to rest at Saint Catherine Cemetery in Luverne, Minnesota. His obituary opens with the line, “After the band finished the final encore and the house lights came up, Jono Bot left the show and stepped out into the hands of God.”3 It feels especially fitting considering how connected he was to music, community events, and bringing people together.

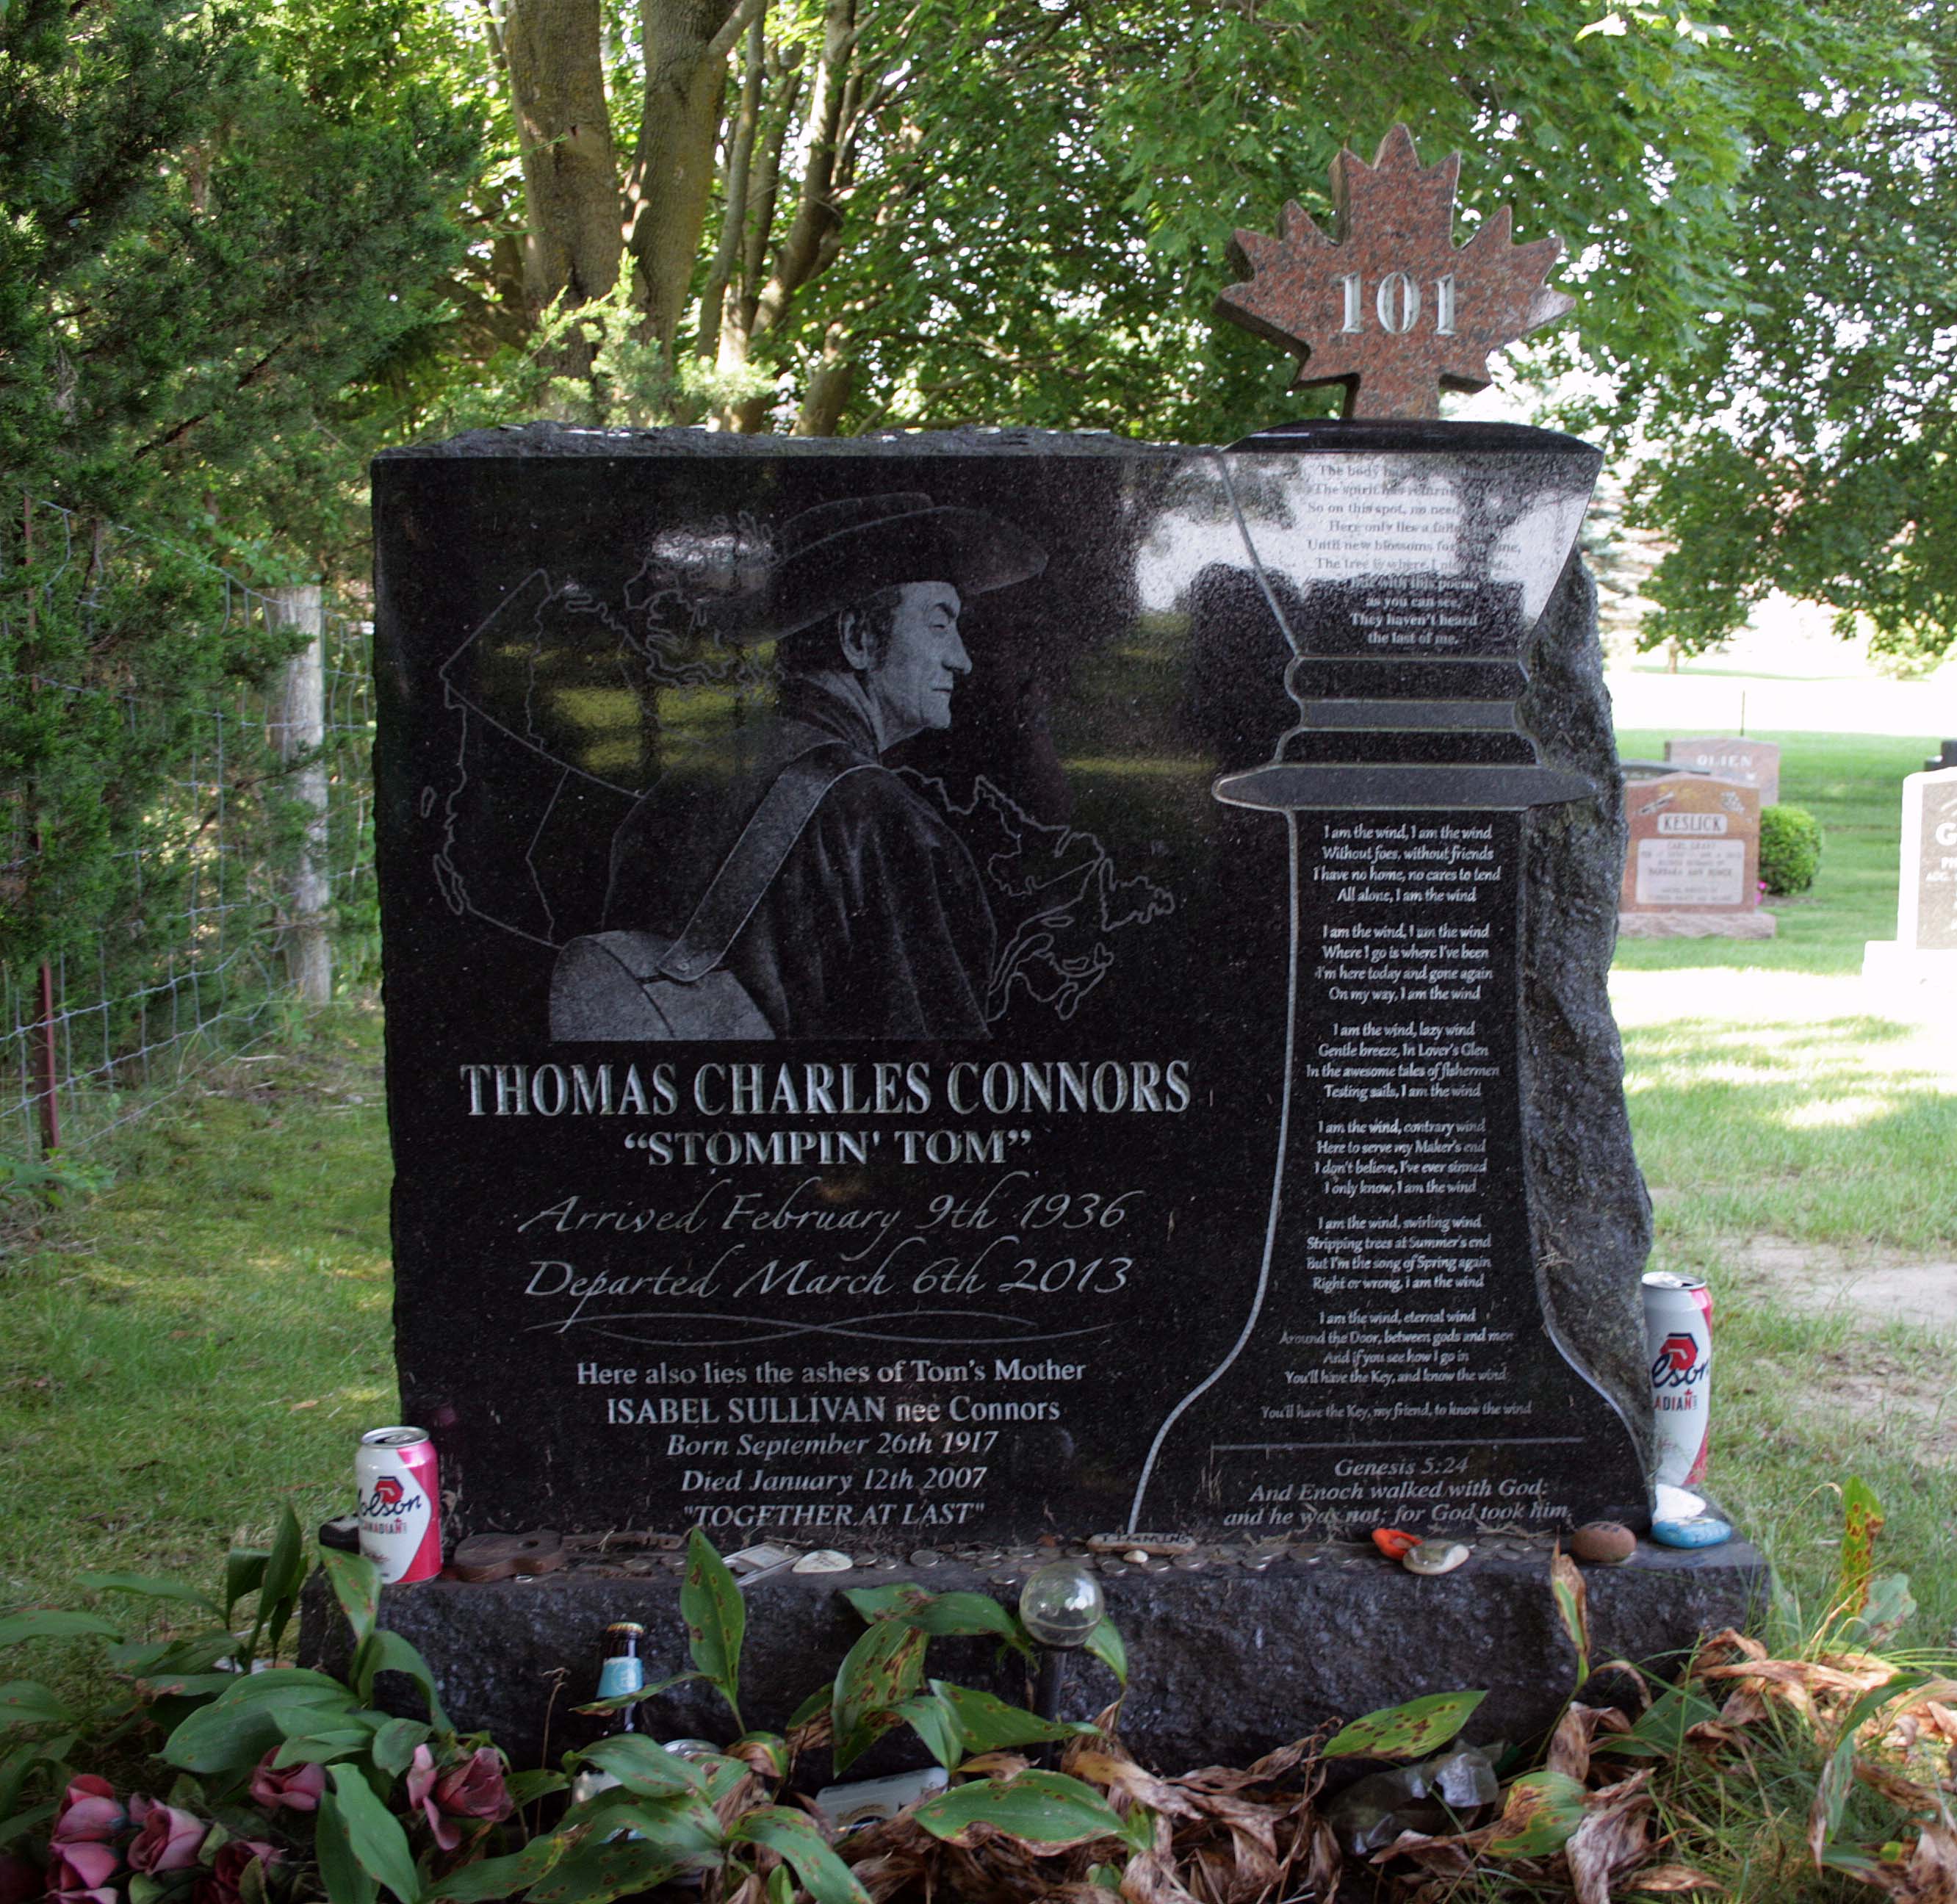
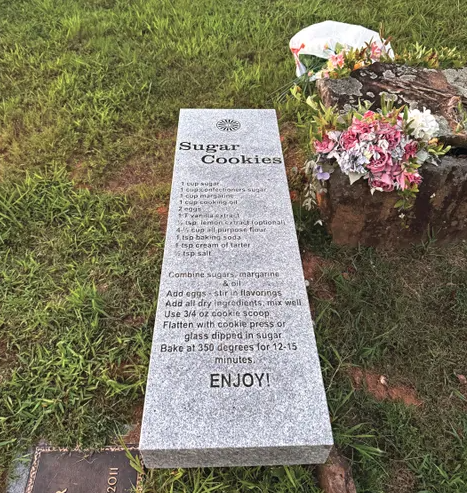
Gravestone of Jon Bot. Saint Catherine Cemetery in Luverne, Minnesota. Photo used with permission.
Here is the recipe exactly as it appears on the gravestone:
Jono’s Jack Daniel’s Marinade
- 1 1/2 cup water
- 2/3 cup soy
- 1/2 cup bourbon
- 3 tb spoon Worch
- 2 “ lemon juice
- 1/4 cup brown sugar
A couple things stood out to me right away. First, “Worch” is shorthand for Worcestershire sauce. Second, despite the title mentioning Jack Daniel’s, the recipe itself simply says “bourbon.”
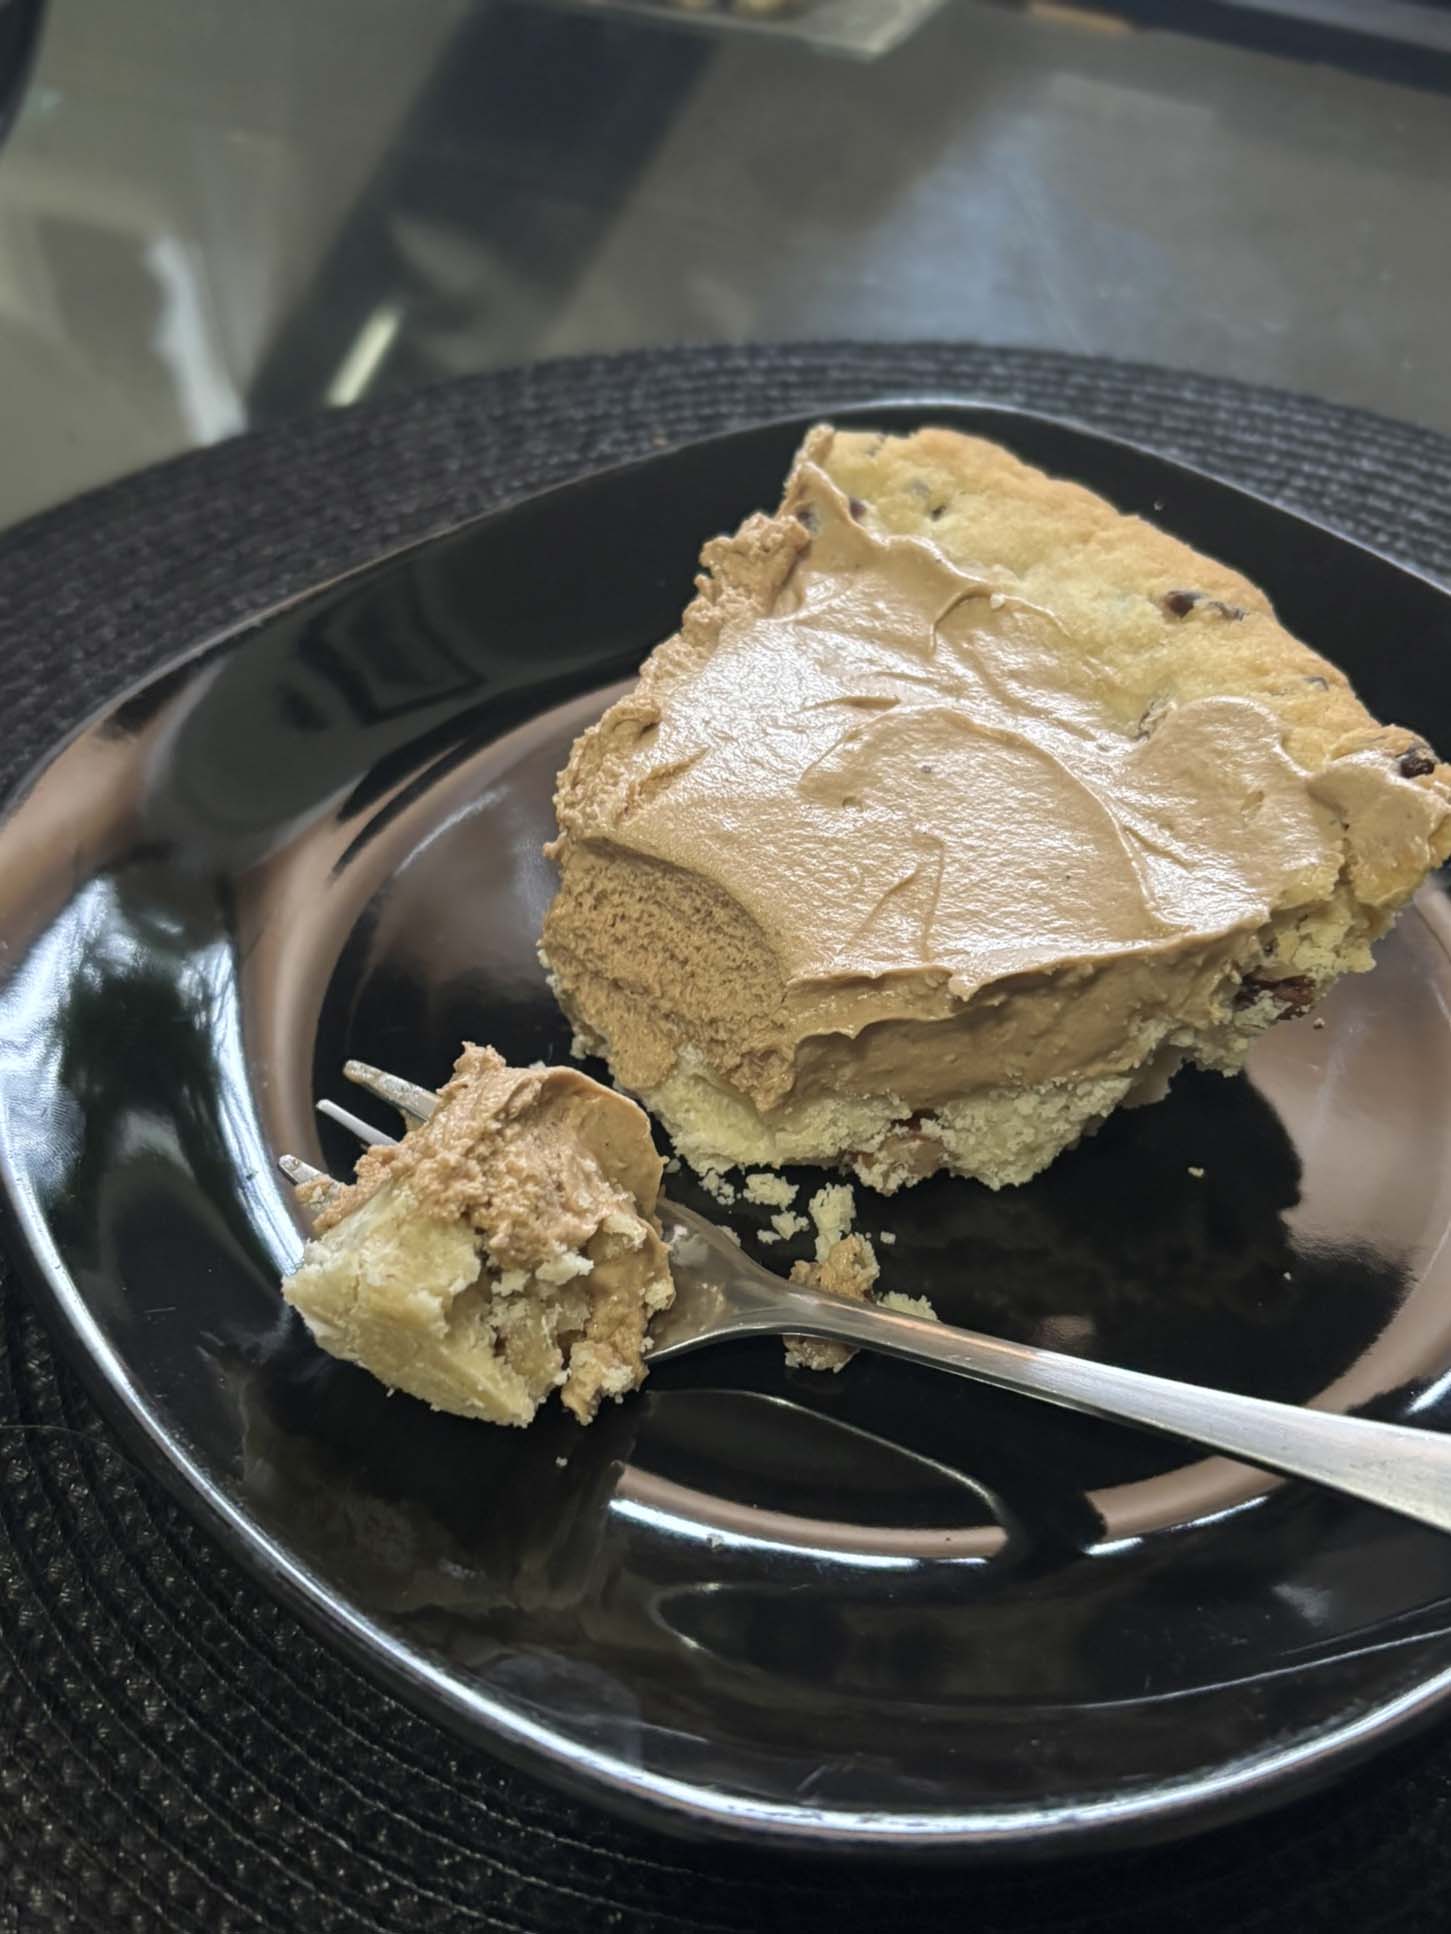
Since this is a marinade, I assumed the meat should sit for at least a couple of hours, or ideally overnight, before cooking. I decided to try it on pork chops.
In the Kitchen
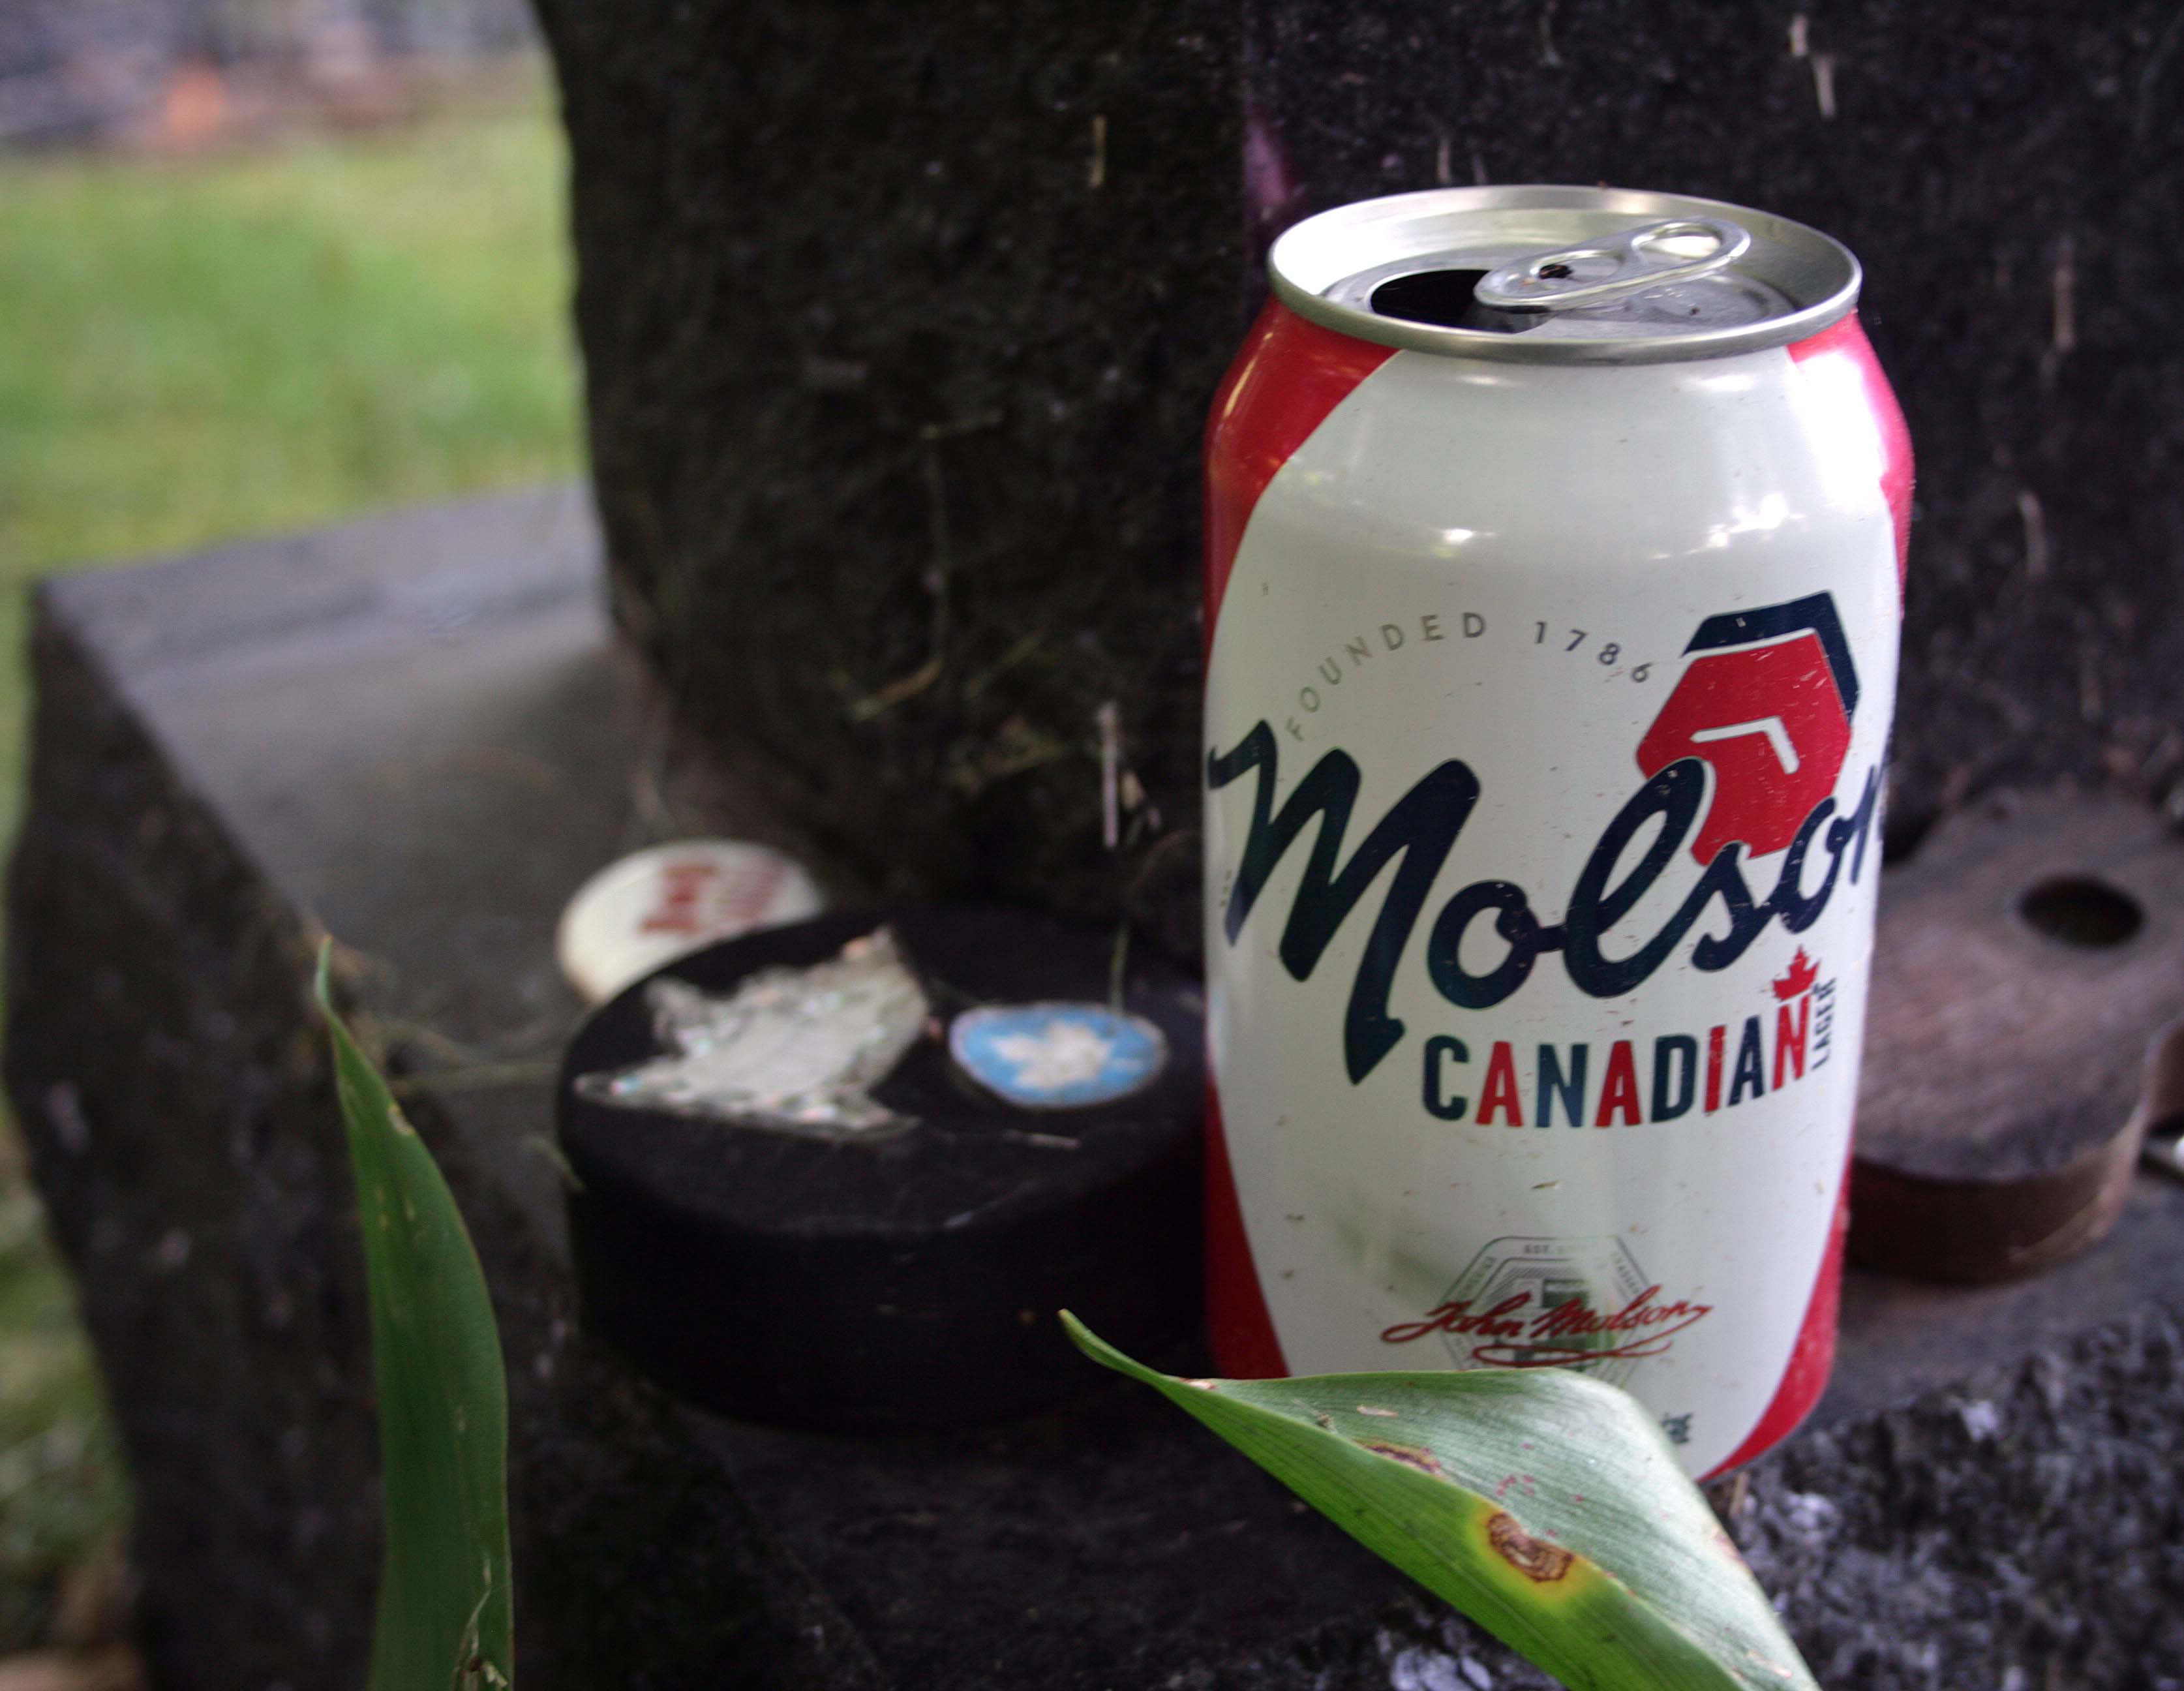
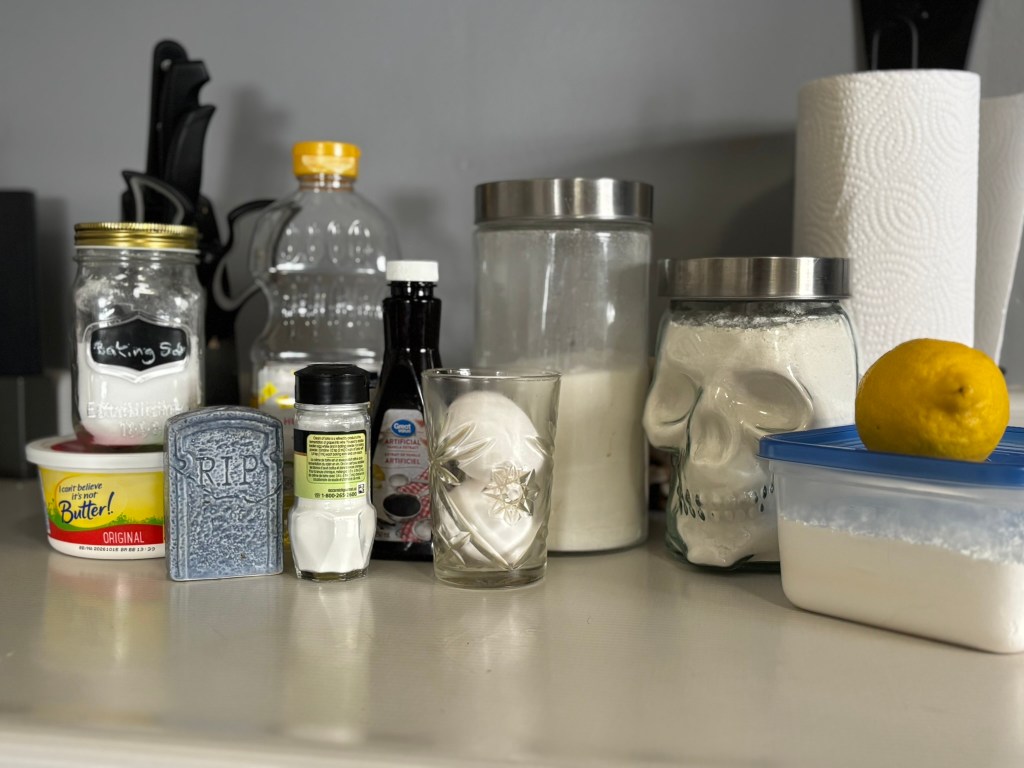
This recipe was incredibly easy to put together. I only needed to pick up a few things from the grocery store. I had run out of soy sauce, needed a fresh lemon, and, of course, I needed the whiskey.
That sent me down an interesting rabbit hole about the difference between bourbon and whiskey.
The recipe is called Jono’s Jack Daniel’s Marinade, but the ingredients on the gravestone simply list bourbon. Since I was curious about the difference, I stopped by my local LCBO and asked one of the staff members for some advice.
There was one small problem right away. At the moment, American alcohol has been removed from LCBO shelves as part of Ontario’s response to the ongoing trade dispute between Canada and the United States. That meant Jack Daniel’s wasn’t an option.
Instead, the staff member recommended Jameson’s Irish Whiskey. He explained that, because Jack Daniel’s is made using the sour mash process, Jameson’s would be one of the closest alternatives currently available.
I also asked about the bourbon versus whiskey question.
He explained that all bourbon is whiskey, but not all whiskey is bourbon. It turns out that bourbon has to meet some specific legal requirements, including being made in the United States from a mash containing at least 51% corn and aged in new, charred oak barrels. Even though he suggested another whiskey that was a little closer to a traditional bourbon, I decided to stick with something closer to Jack Daniel’s since that’s what the recipe is named after.
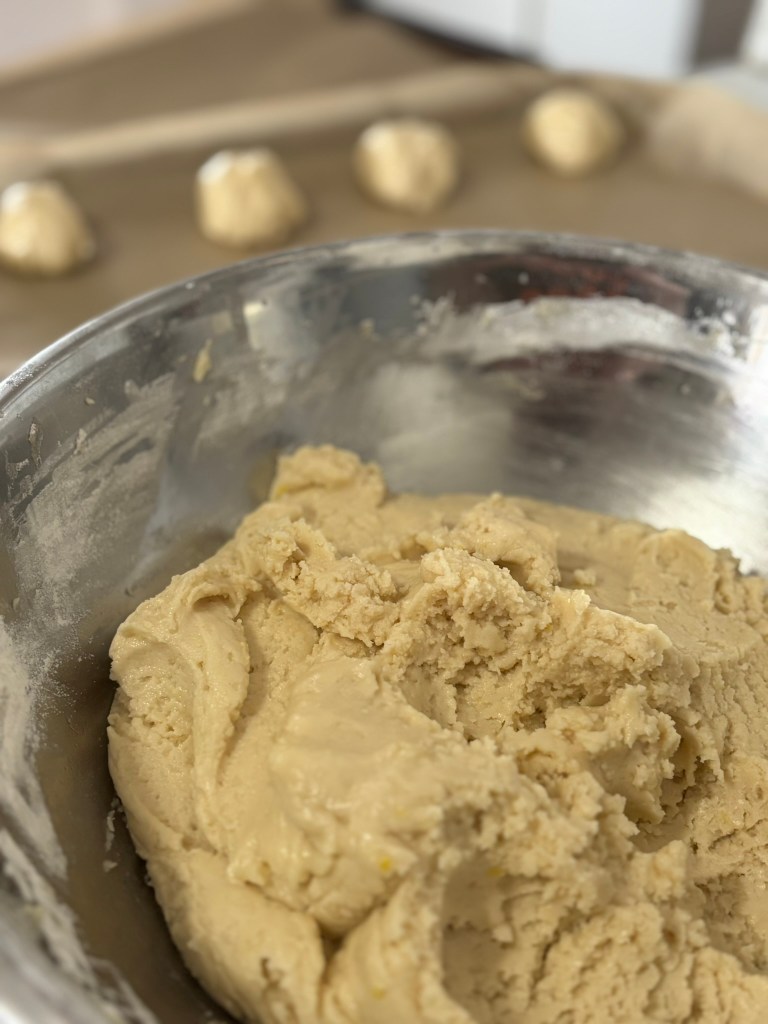
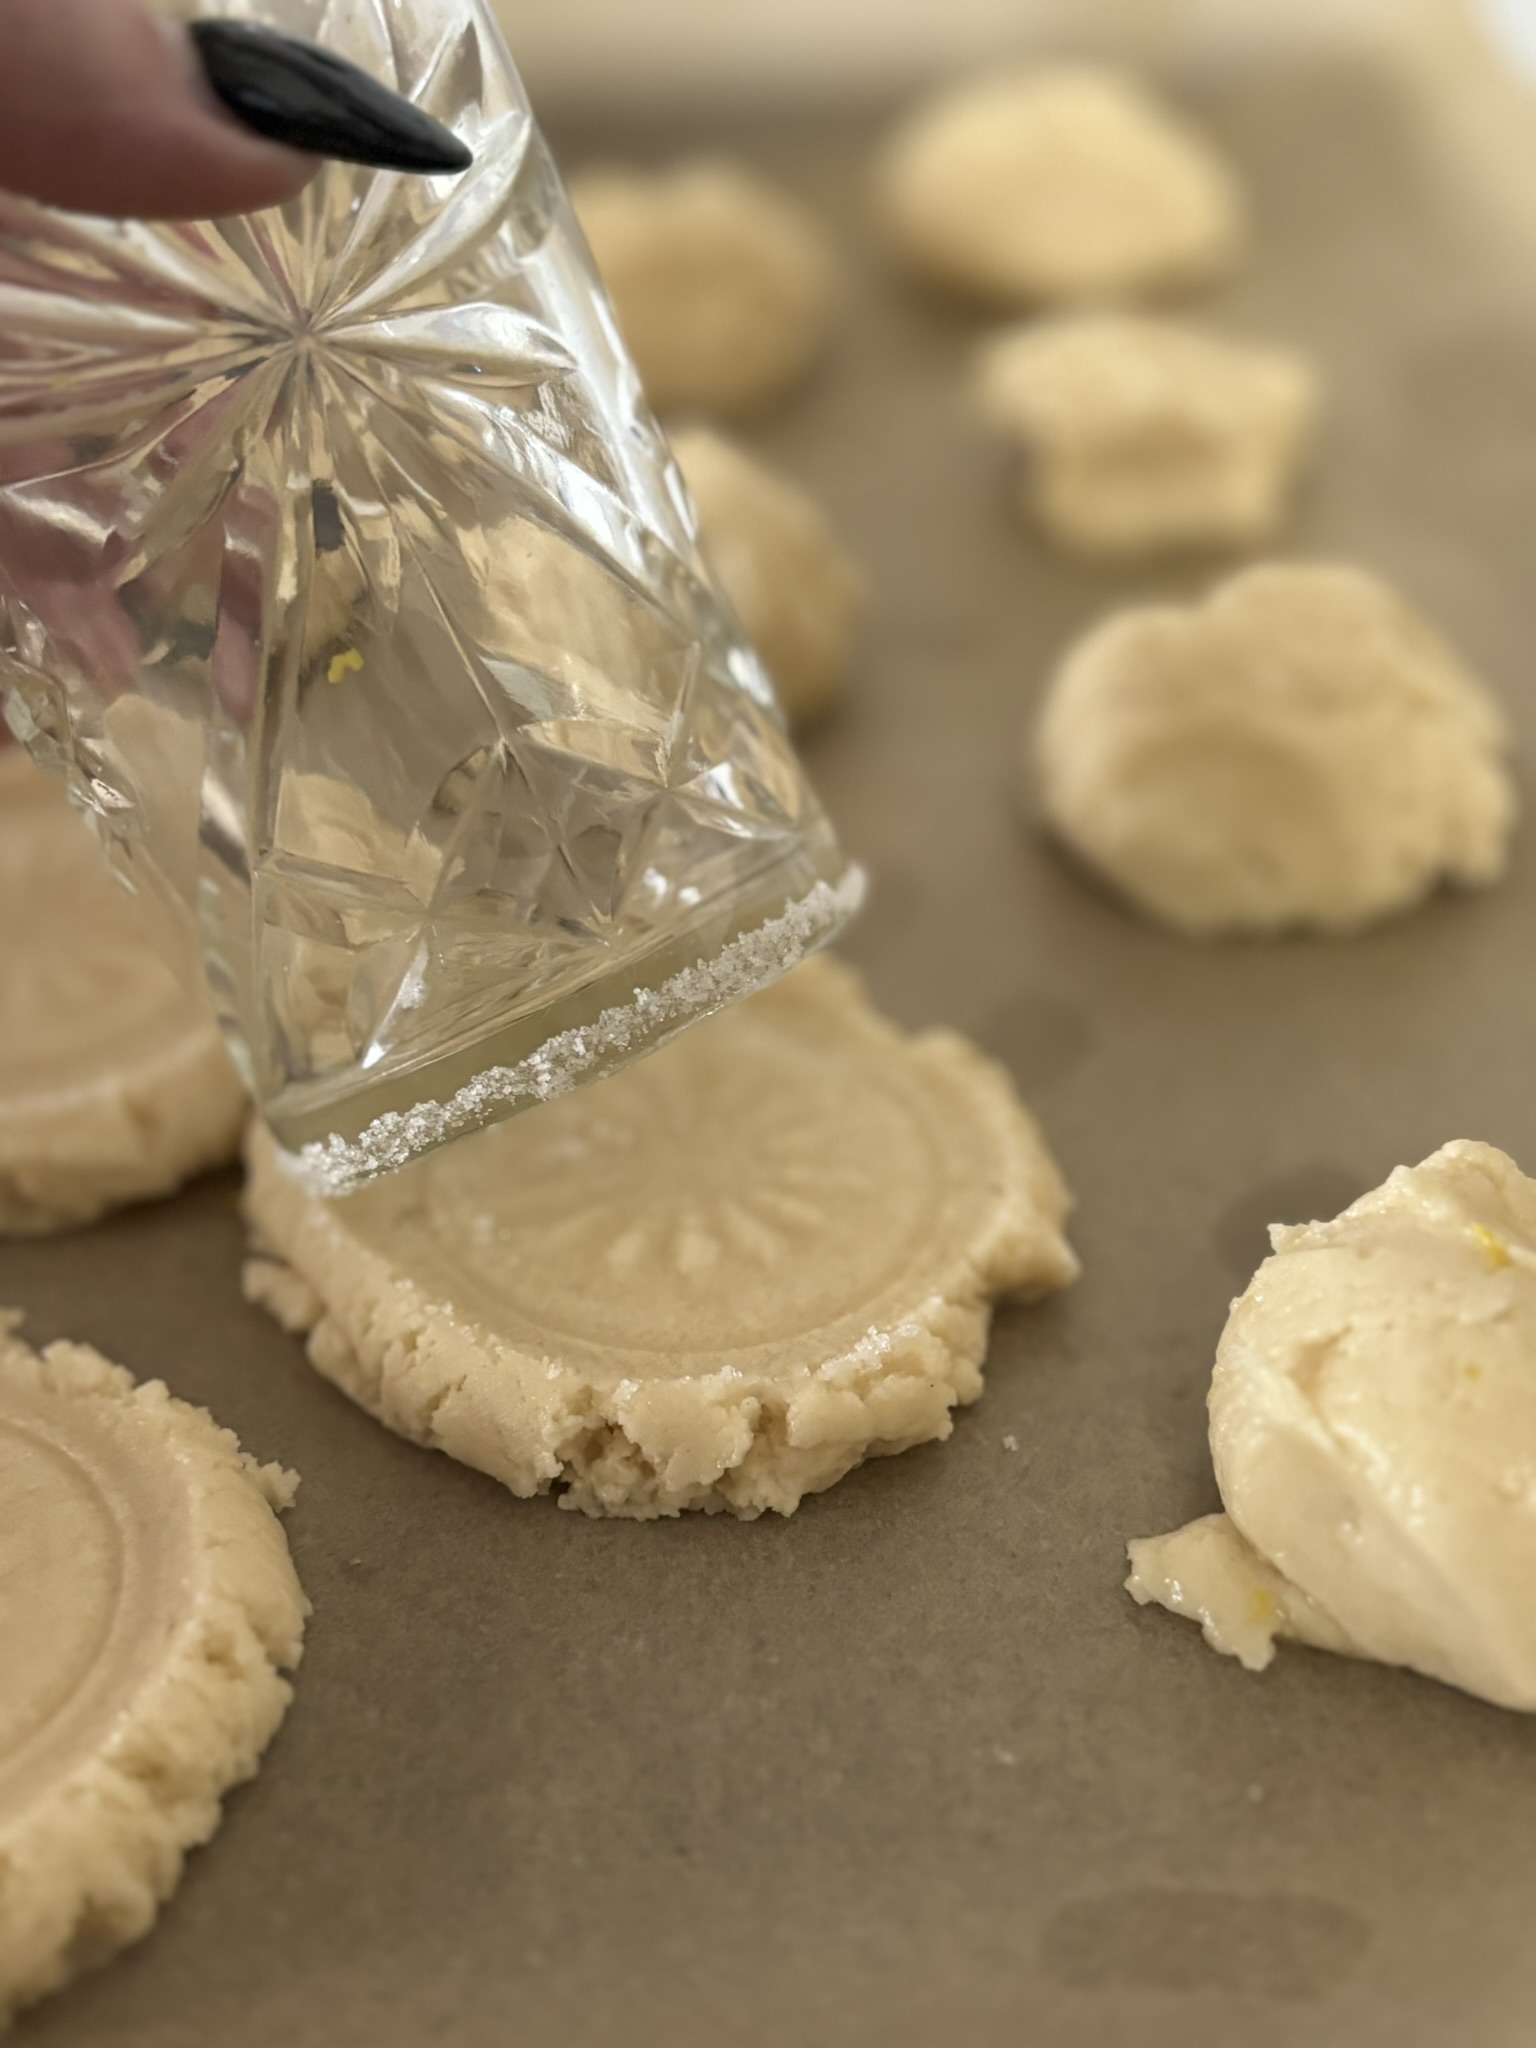
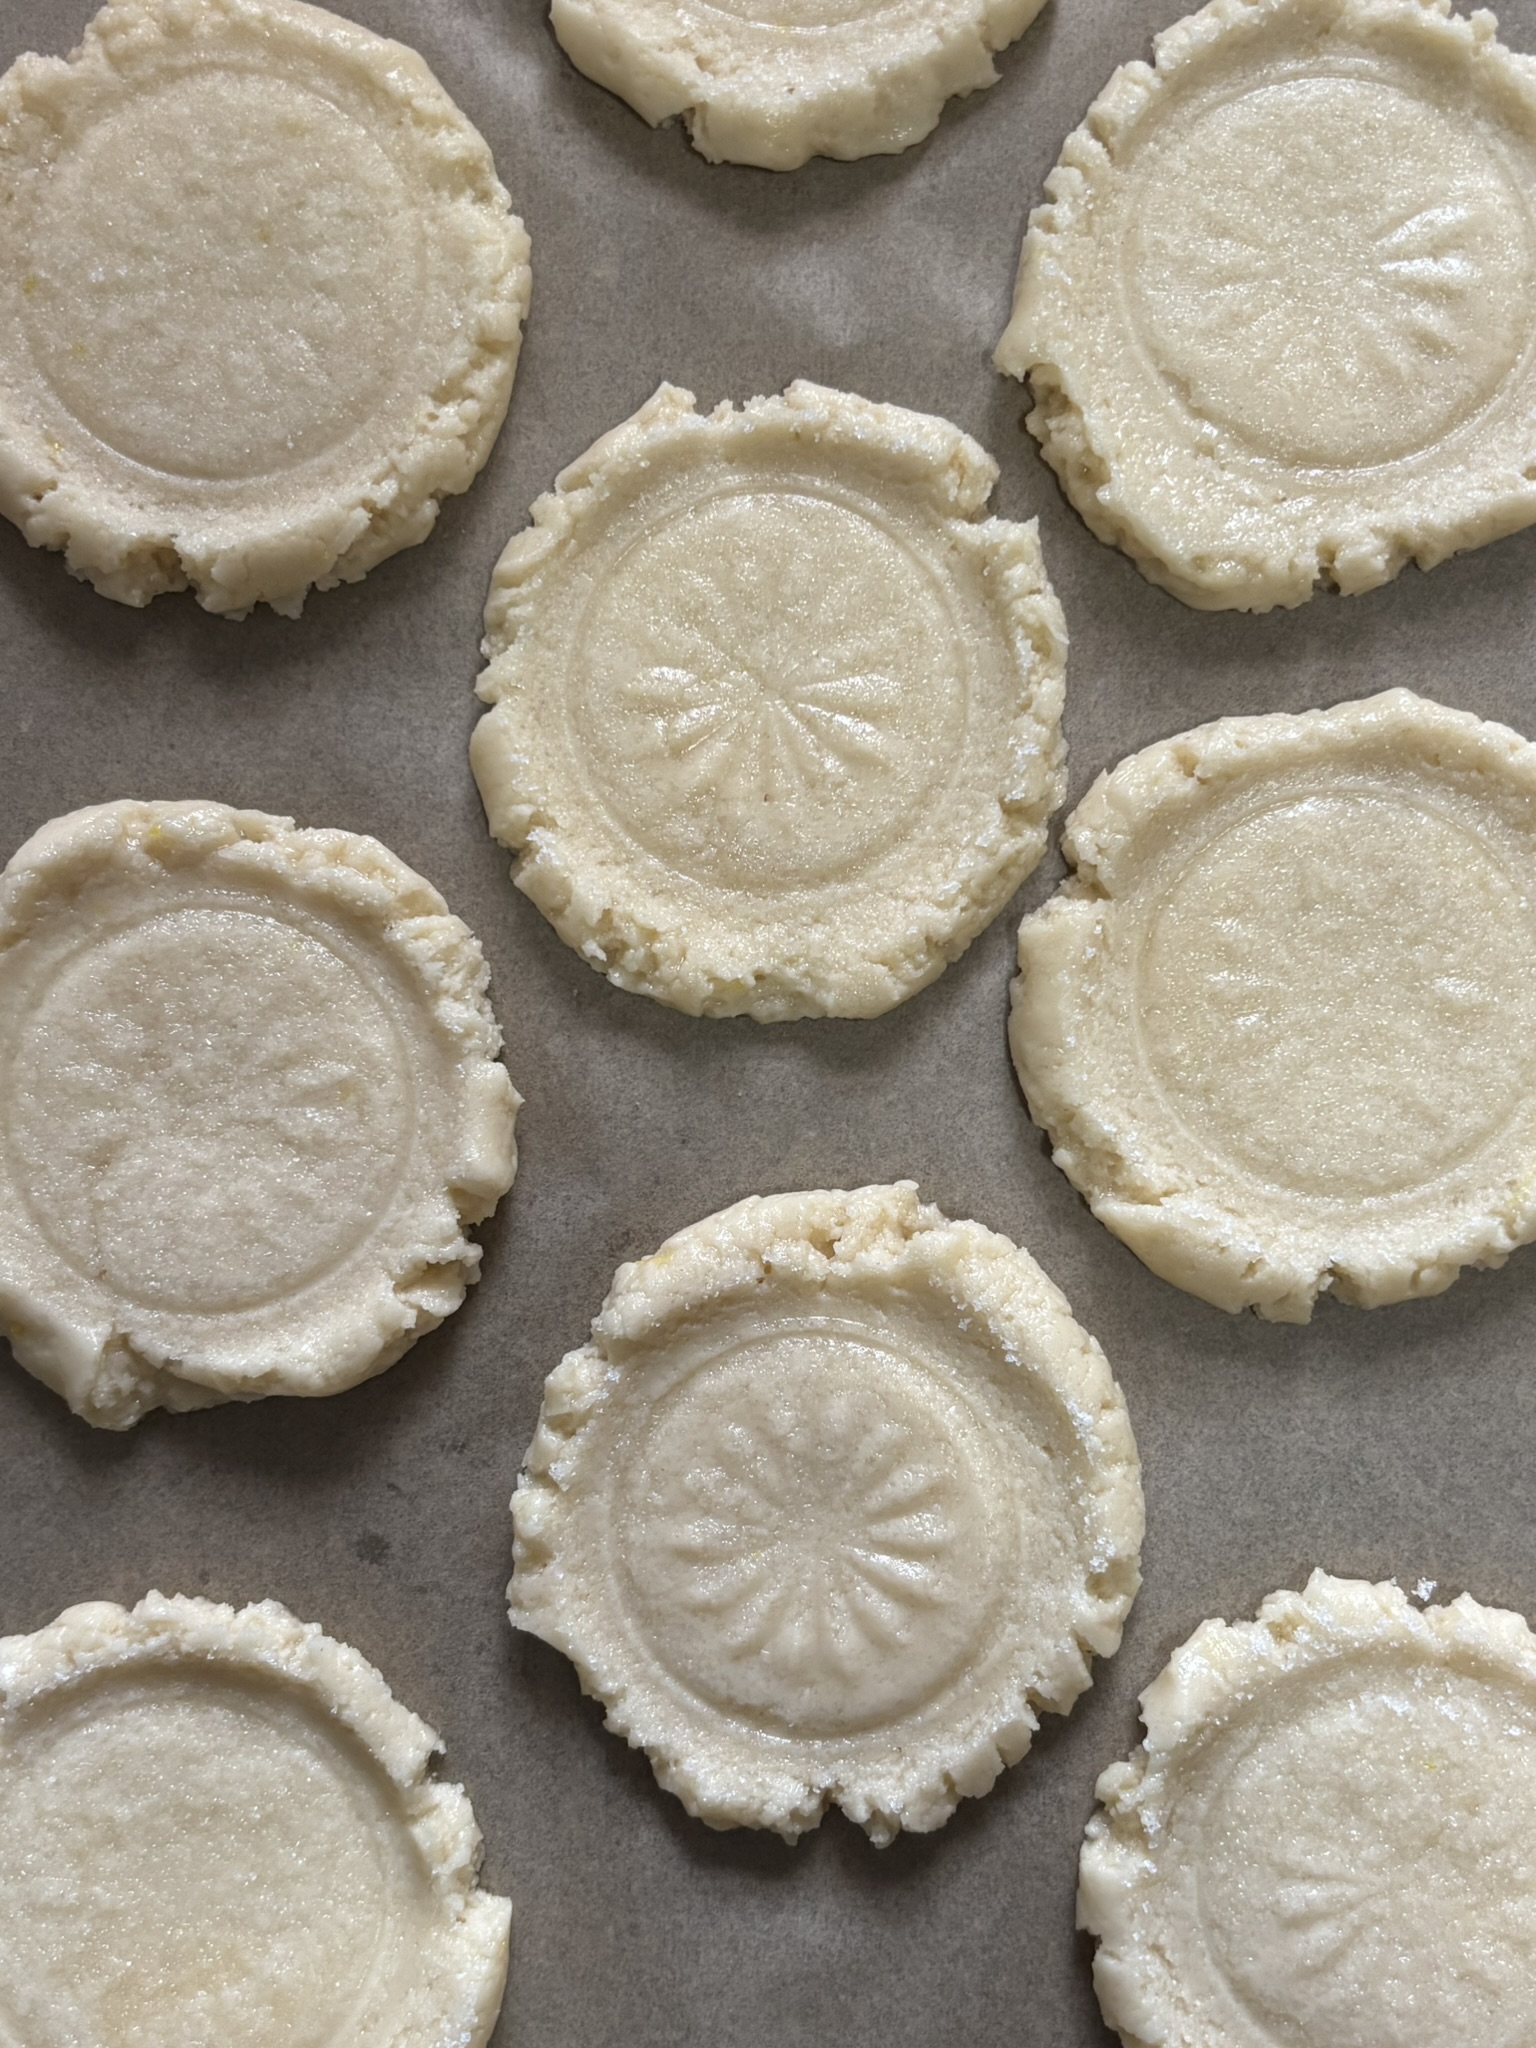
Once I had all the ingredients, making the marinade couldn’t have been easier. I grabbed a large bowl, measured out all the ingredients, and mixed them in the same order as they appear on the gravestone.
The first thing I noticed was the smell. With half a cup of whiskey in the recipe, it definitely had a strong aroma. The marinade was also very dark, which made it a bit tricky to photograph.


To test it out, I thawed two pork chops from my freezer and let them marinate overnight. They were completely submerged, so I probably could have added another piece or two of meat, but that’s all I had. The next morning, I flipped them over and let them continue marinating until it was time to barbecue after work.

Dinner almost went exactly as planned.
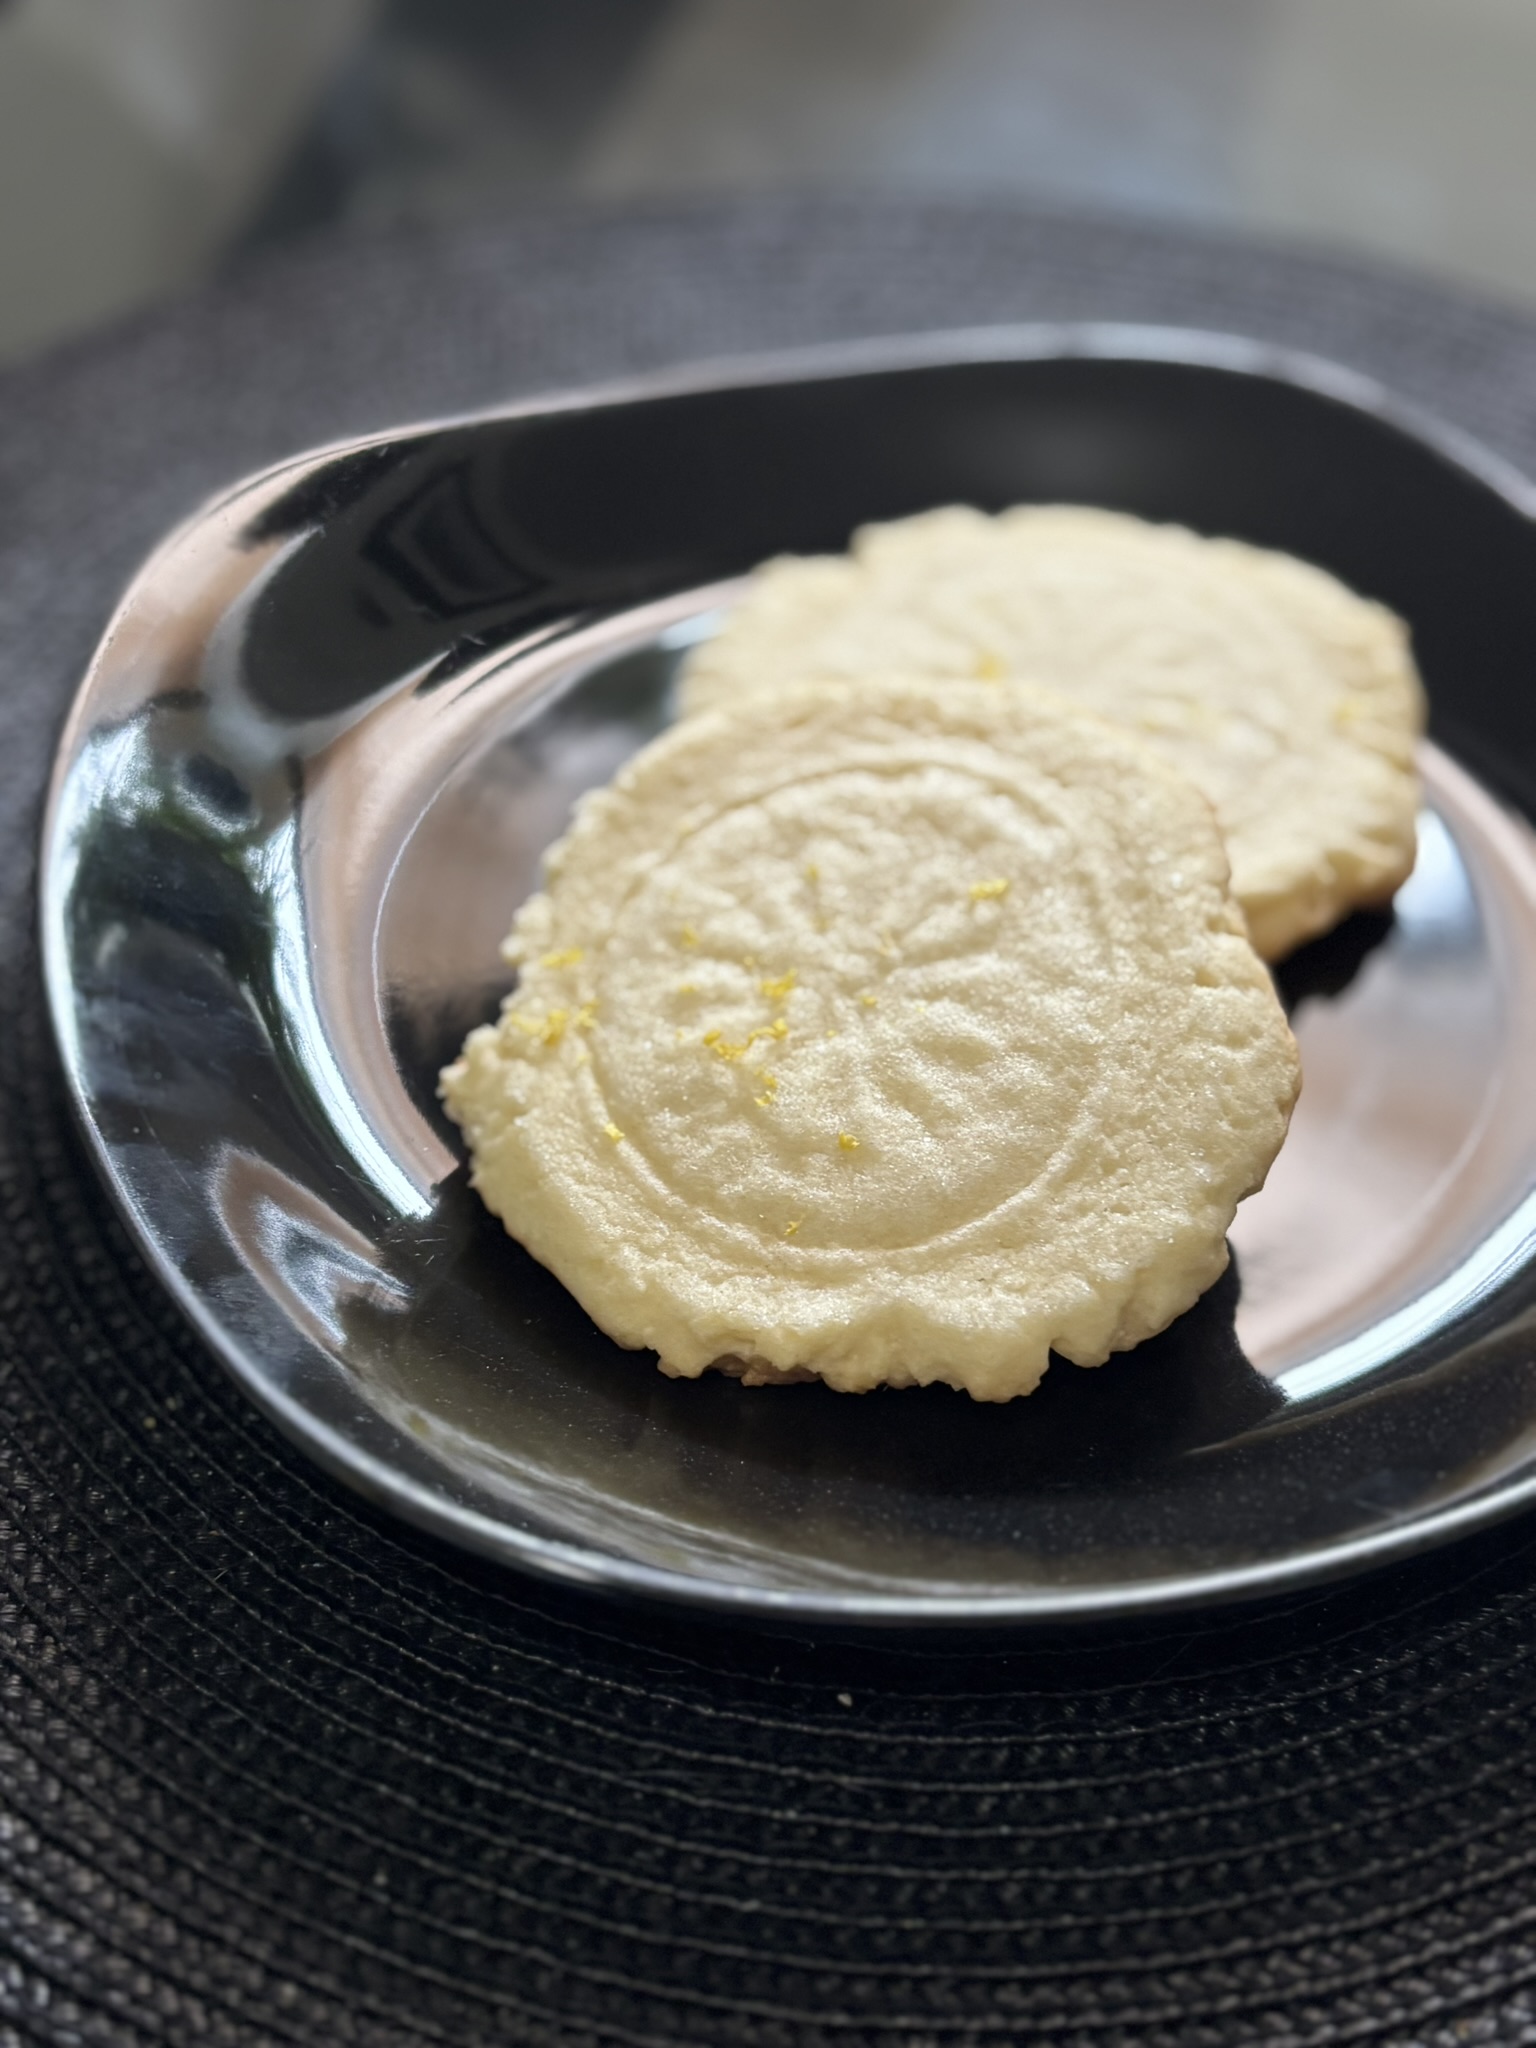
I fired up the barbecue and added the pork chops, along with some corn and green beans. Then, halfway through cooking, I ran out of propane! Thankfully, I was able to finish everything off in the oven. My mom also shared some of her potato wedges, that she had made, to round out the dish.
Despite the unexpected interruption, the pork chops turned out fantastic. They were flavourful, juicy, and had just the right balance of sweetness and savoury flavour. This is definitely a recipe I’ll be making again. It’s so simple to prepare, perfect for summer barbecues, and one I can easily see serving to friends and family.

A favourite barbecue recipe may seem simple, but it can say a lot about a person and the memories they shared with others.
Jono’s gravestone does exactly that. Even years later, it still encourages people to fire up the grill and try something that clearly meant a lot to him.
Thanks for reading!
References:
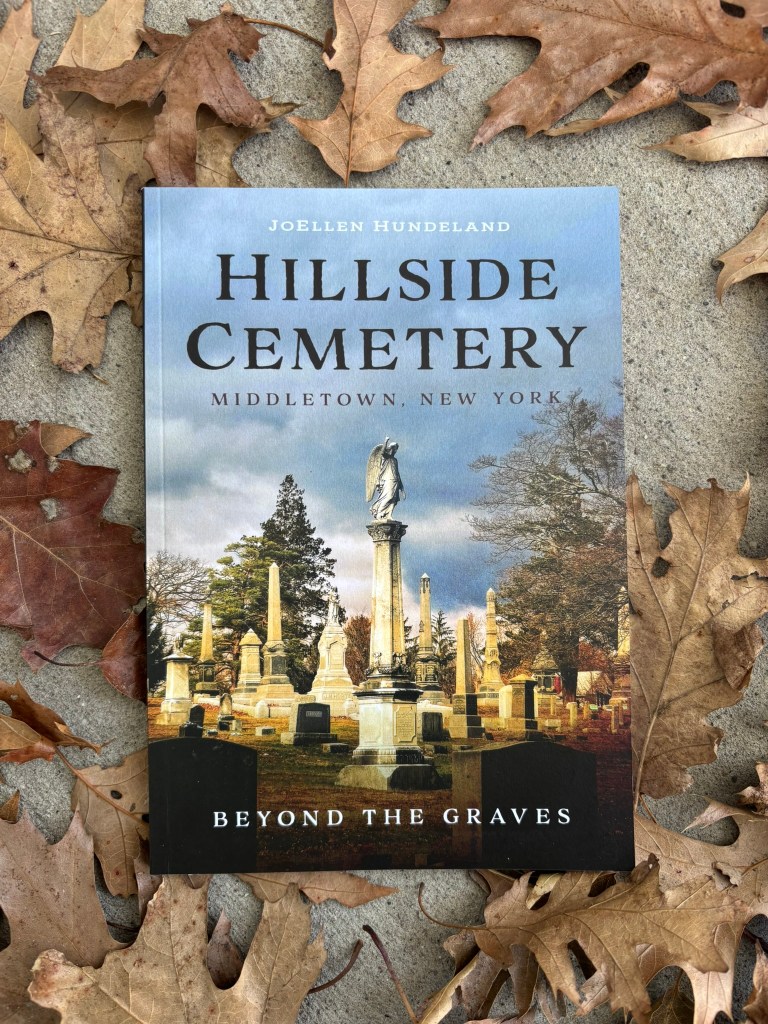
- To Die For: A Cookbook of Gravestone Recipes by Rosie Grant | Book
- Jon Bot | Find a Grave
- Jon “Jono” Bot (Obituary) | Legacy.com