With my birthday coming up at the end of the month, I thought it would be fun to try out a cake recipe for this month’s gravestone recipe. I found the perfect fit with this Texas Sheet Cake.
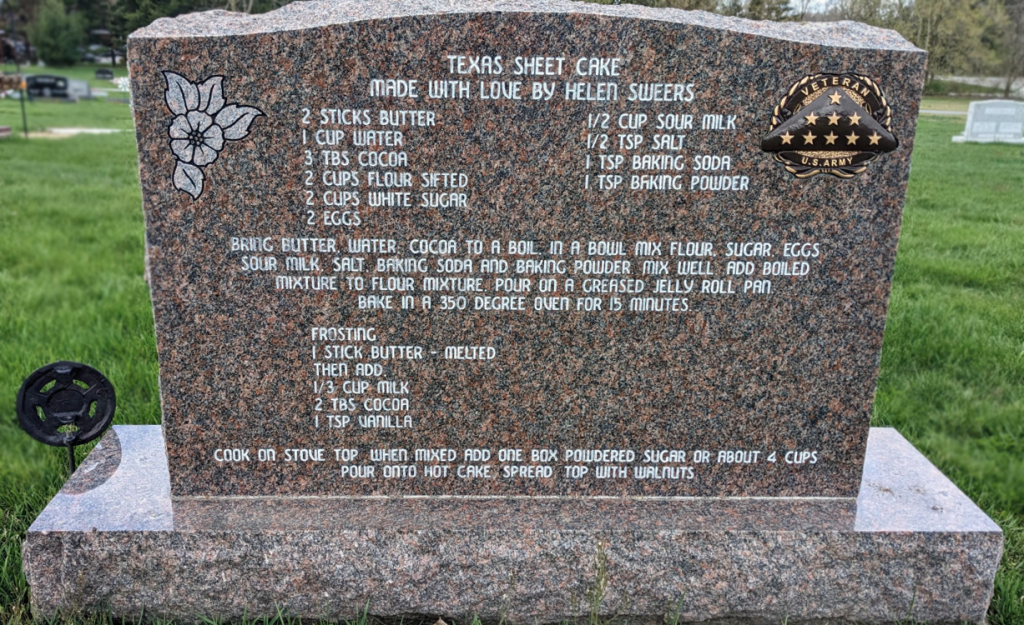
This recipe can be found on the gravestone of Helen Rose (Keathley) Sweers, who is laid to rest in Blain Cemetery in Cutlerville, Michigan.

Gravestone of Helen Sweers. Photo by Find a Grave contributor, Photograver Lori.
Sweers passed away on December 30, 2017, at the age of 77. Her brief obituary describes her as a wife, mother, and grandmother, who deeply loved God, her family, and everyone in her life.1
While her obituary doesn’t mention a passion for baking, the recipe engraved on the back of her gravestone tells a different story.
“Made with Love by Helen Sweers”
Texas Sheet Cake Recipe. Photo by Find a Grave contributor, G.
Texas Sheet Cake
(As inscribed on the gravestone of Helen Sweers)
Made with Love by Helen Sweers
- 2 Sticks Butter
- 1 Cup Water
- 3 Tbs Cocoa
- 2 Cups Flour, Sifted
- 2 Cups White Sugar
- 2 Eggs
- 1/2 Cup Sour Milk
- 1/2 Tsp Salt
- 1 Tsp Baking Soda
- 1 Tsp Baking Powder
Bring butter, water, cocoa to a boil. In a bowl mix flour, sugar, eggs, sour milk, salt, baking soda and baking powder. Mix well. Add boiled mixture to flour mixture. Pour on a greased jelly roll pan. Bake in a 350 degree oven for 15 minutes.
Frosting
1 stick butter – melted
Then add:
⦁ 1/3 cup milk
⦁ 1 Tbs cocoa
⦁ 1 Tsp vanilla
Cook on stove top. When mixed add one box powdered sugar or about 4 cups. Pour onto hot cake. Spread. Top with walnuts.
In the Kitchen
I had never heard of Texas Sheet Cake before, so I did learn something new with this recipe. A Texas Sheet Cake is a chocolate cake, baked in a jelly roll pan (which is a pan similar to a cookie sheet, but deeper). This gives the cake its signature large, thin shape.
I ended up purchasing a jelly roll pan specifically to make this recipe. It could double as a cookie sheet if needed, but I think I’ll use it again for future baking, so I will get some use out of it either way.
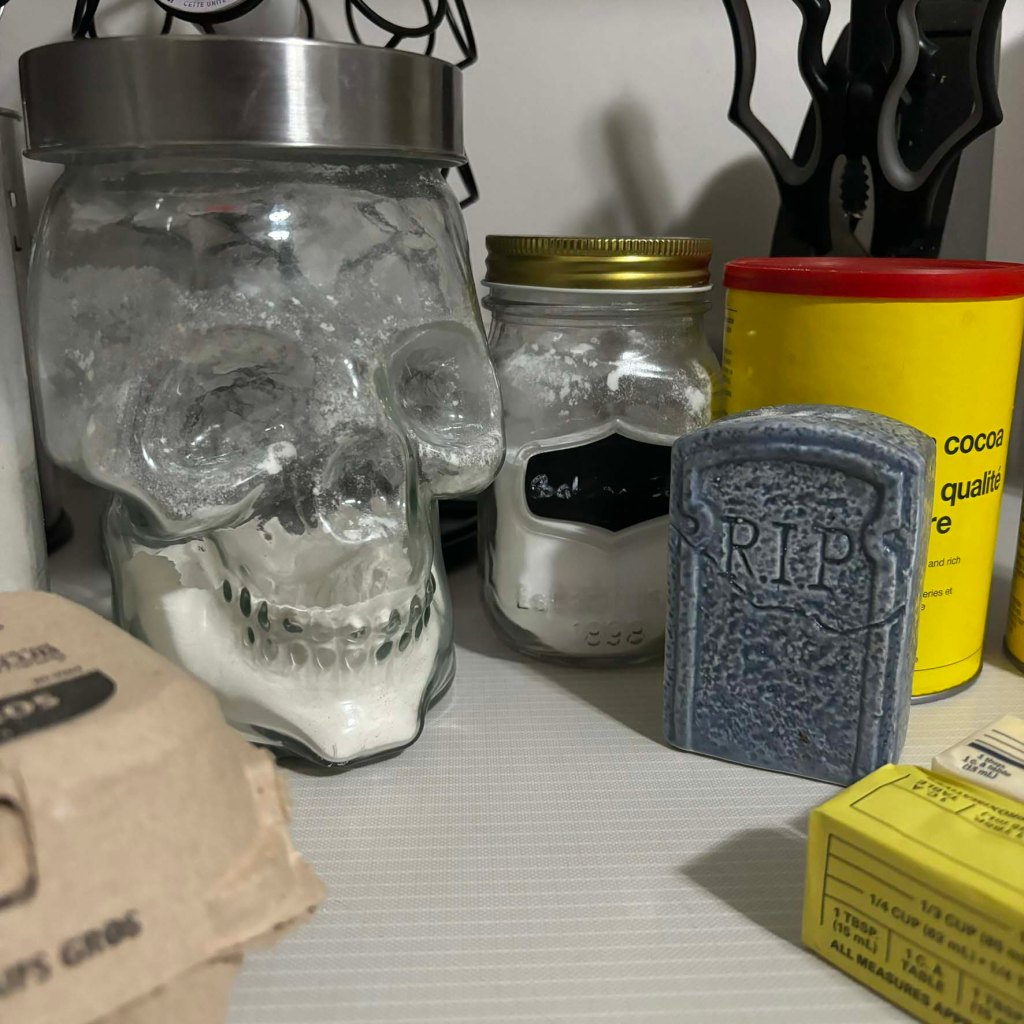
The ingredients for this recipe are mostly staples, so I didn’t need to make an extra grocery trip. However, I did have questions about the sour milk.
Sour milk has a tart taste, either because it’s just starting to spoil or because it was soured on purpose.2 This made me think that this might be a Depression-era recipe, as many recipes of that time were designed to avoid food waste and used sour milk.2 Buttermilk could be a good substitute for sour milk, but I opted to make my own. I found sour milk recipes online that called for 1 tablespoon vinegar or lemon juice, for 1 cup of milk. This recipe only calls for a 1/2 cup of sour milk, so I used a 1/2 tablespoon of vinegar.
I let the sour milk sit for a few minutes to curdle while I gathered the rest of my ingredients and preheated the oven.
The recipe instructions are clear so I didn’t have any trouble mixing everything together. I was a bit concerned when it came time to pour the batter into the jelly roll pan. I voiced those concerns to Helen, while I poured in the batter. Talking to the person whose recipe I’m following makes me feel like they’re with me in the kitchen. It can sometimes be a comforting reminder to trust the process.
The pan was quite full, but I had faith that it would work out. And it did—well, sort of. I put the pan in the oven and let it bake for the full 15 minutes. I used the classic toothpick test to see if it was ready, but ended up needing to bake it for 5 more minutes, and then another 5 minutes after that. The center was quite thick and needed a bit more time to bake all the way through.
While the cake baked, I worked on the frosting. Since I had to bake the cake a little longer, I kept the frosting on low heat so it would be ready when the cake was done.
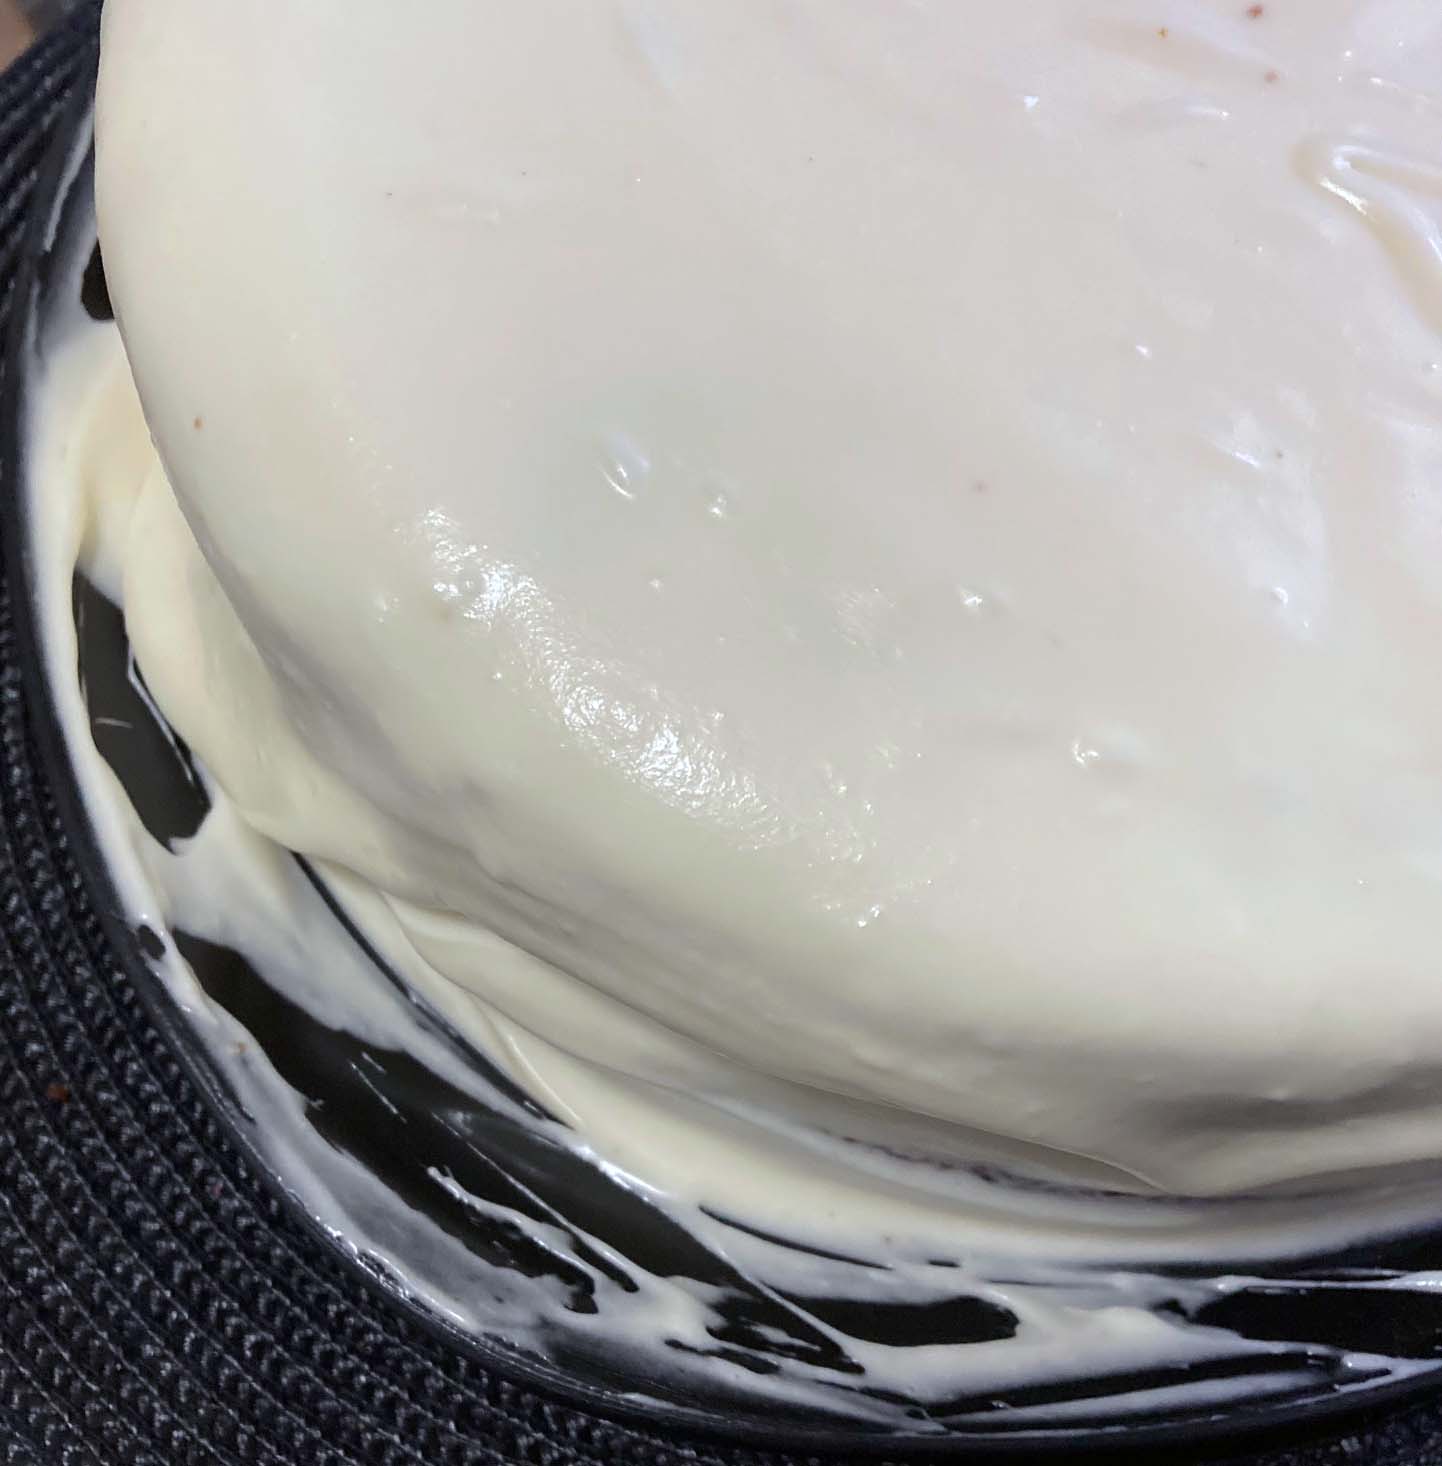
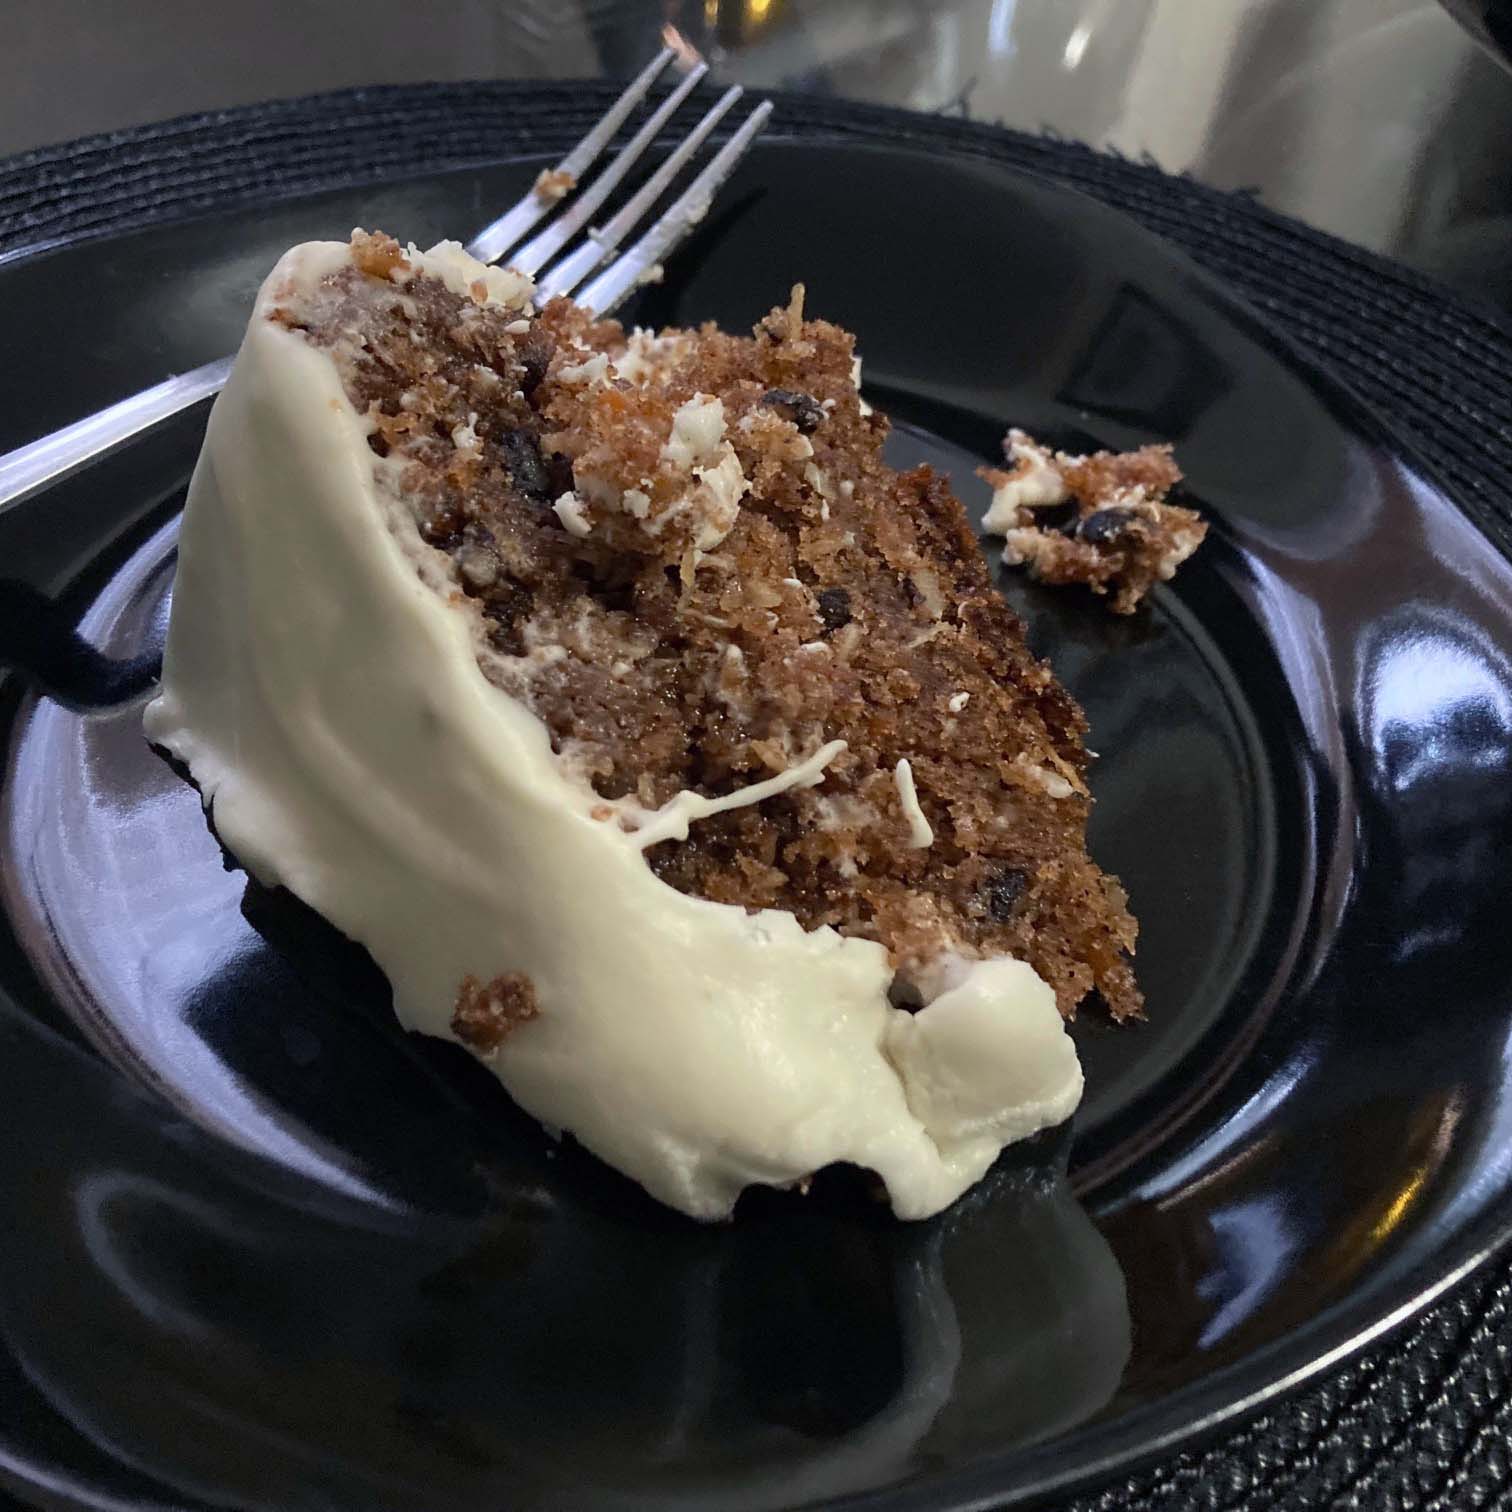
The recipe says to pour the frosting onto the hot cake. The cake didn’t rise, but it didn’t have a lot of room for icing either and I was afraid it would spill over the sides and make a big mess. To avoid that, I used a spatula to carefully spread small amounts at a time. In the end, I was able to cover the whole cake without any issues. I then topped it with a handful of walnuts.
After it cooled, the frosting firmed up a bit, creating a nice crackle when you sliced through the cake.
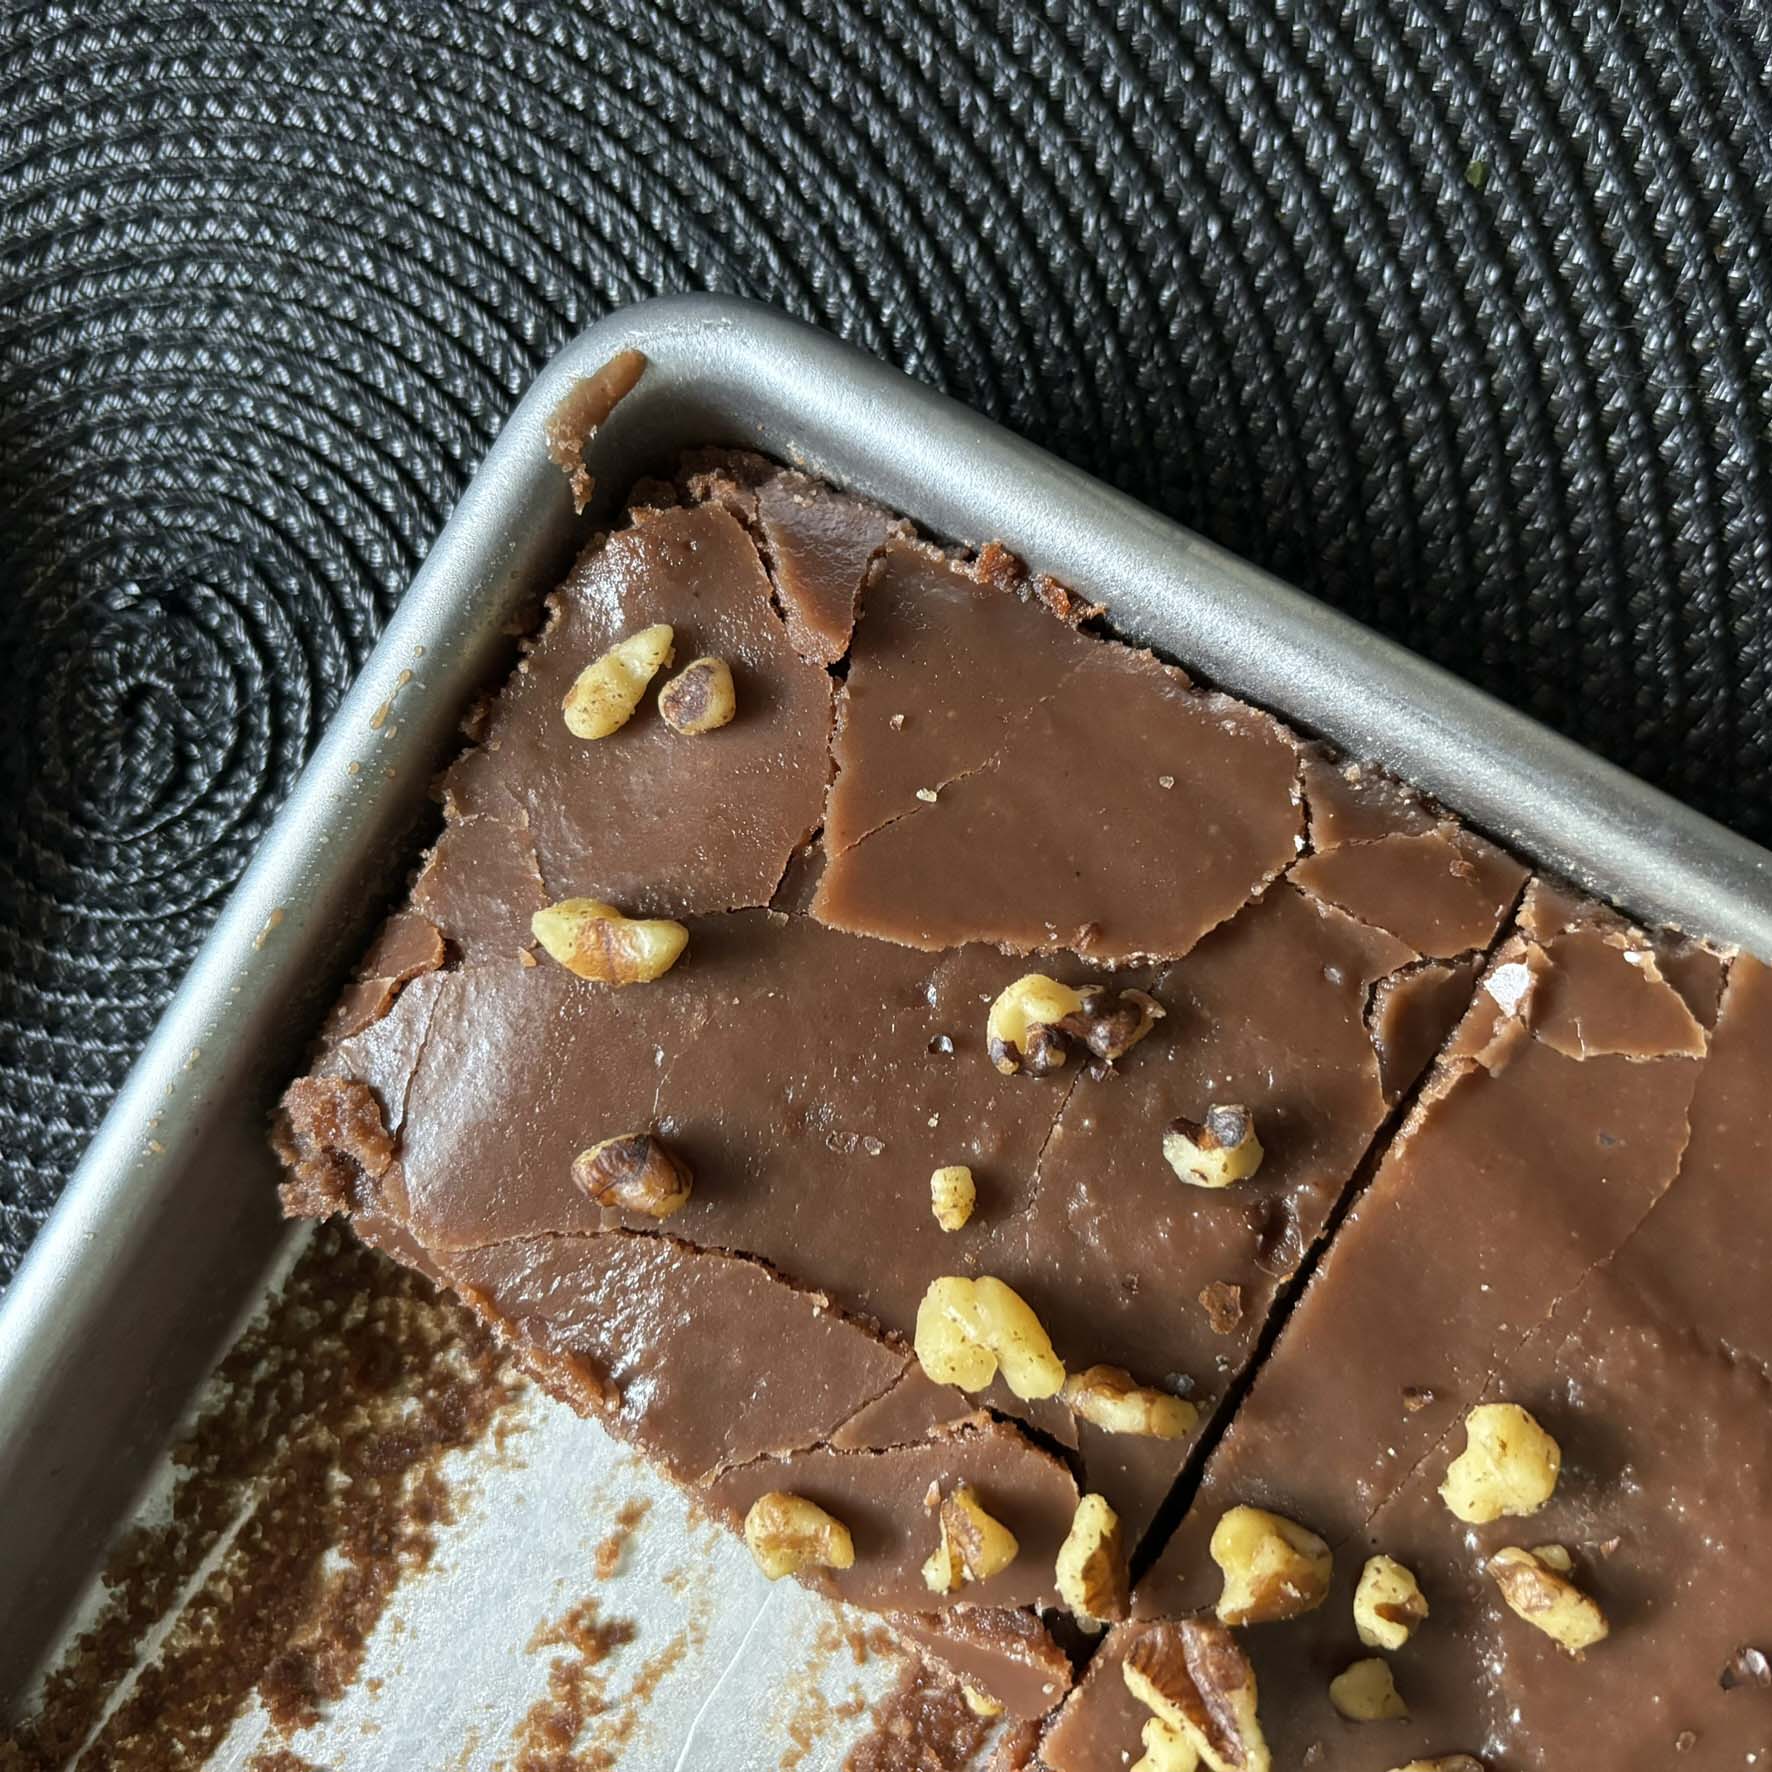
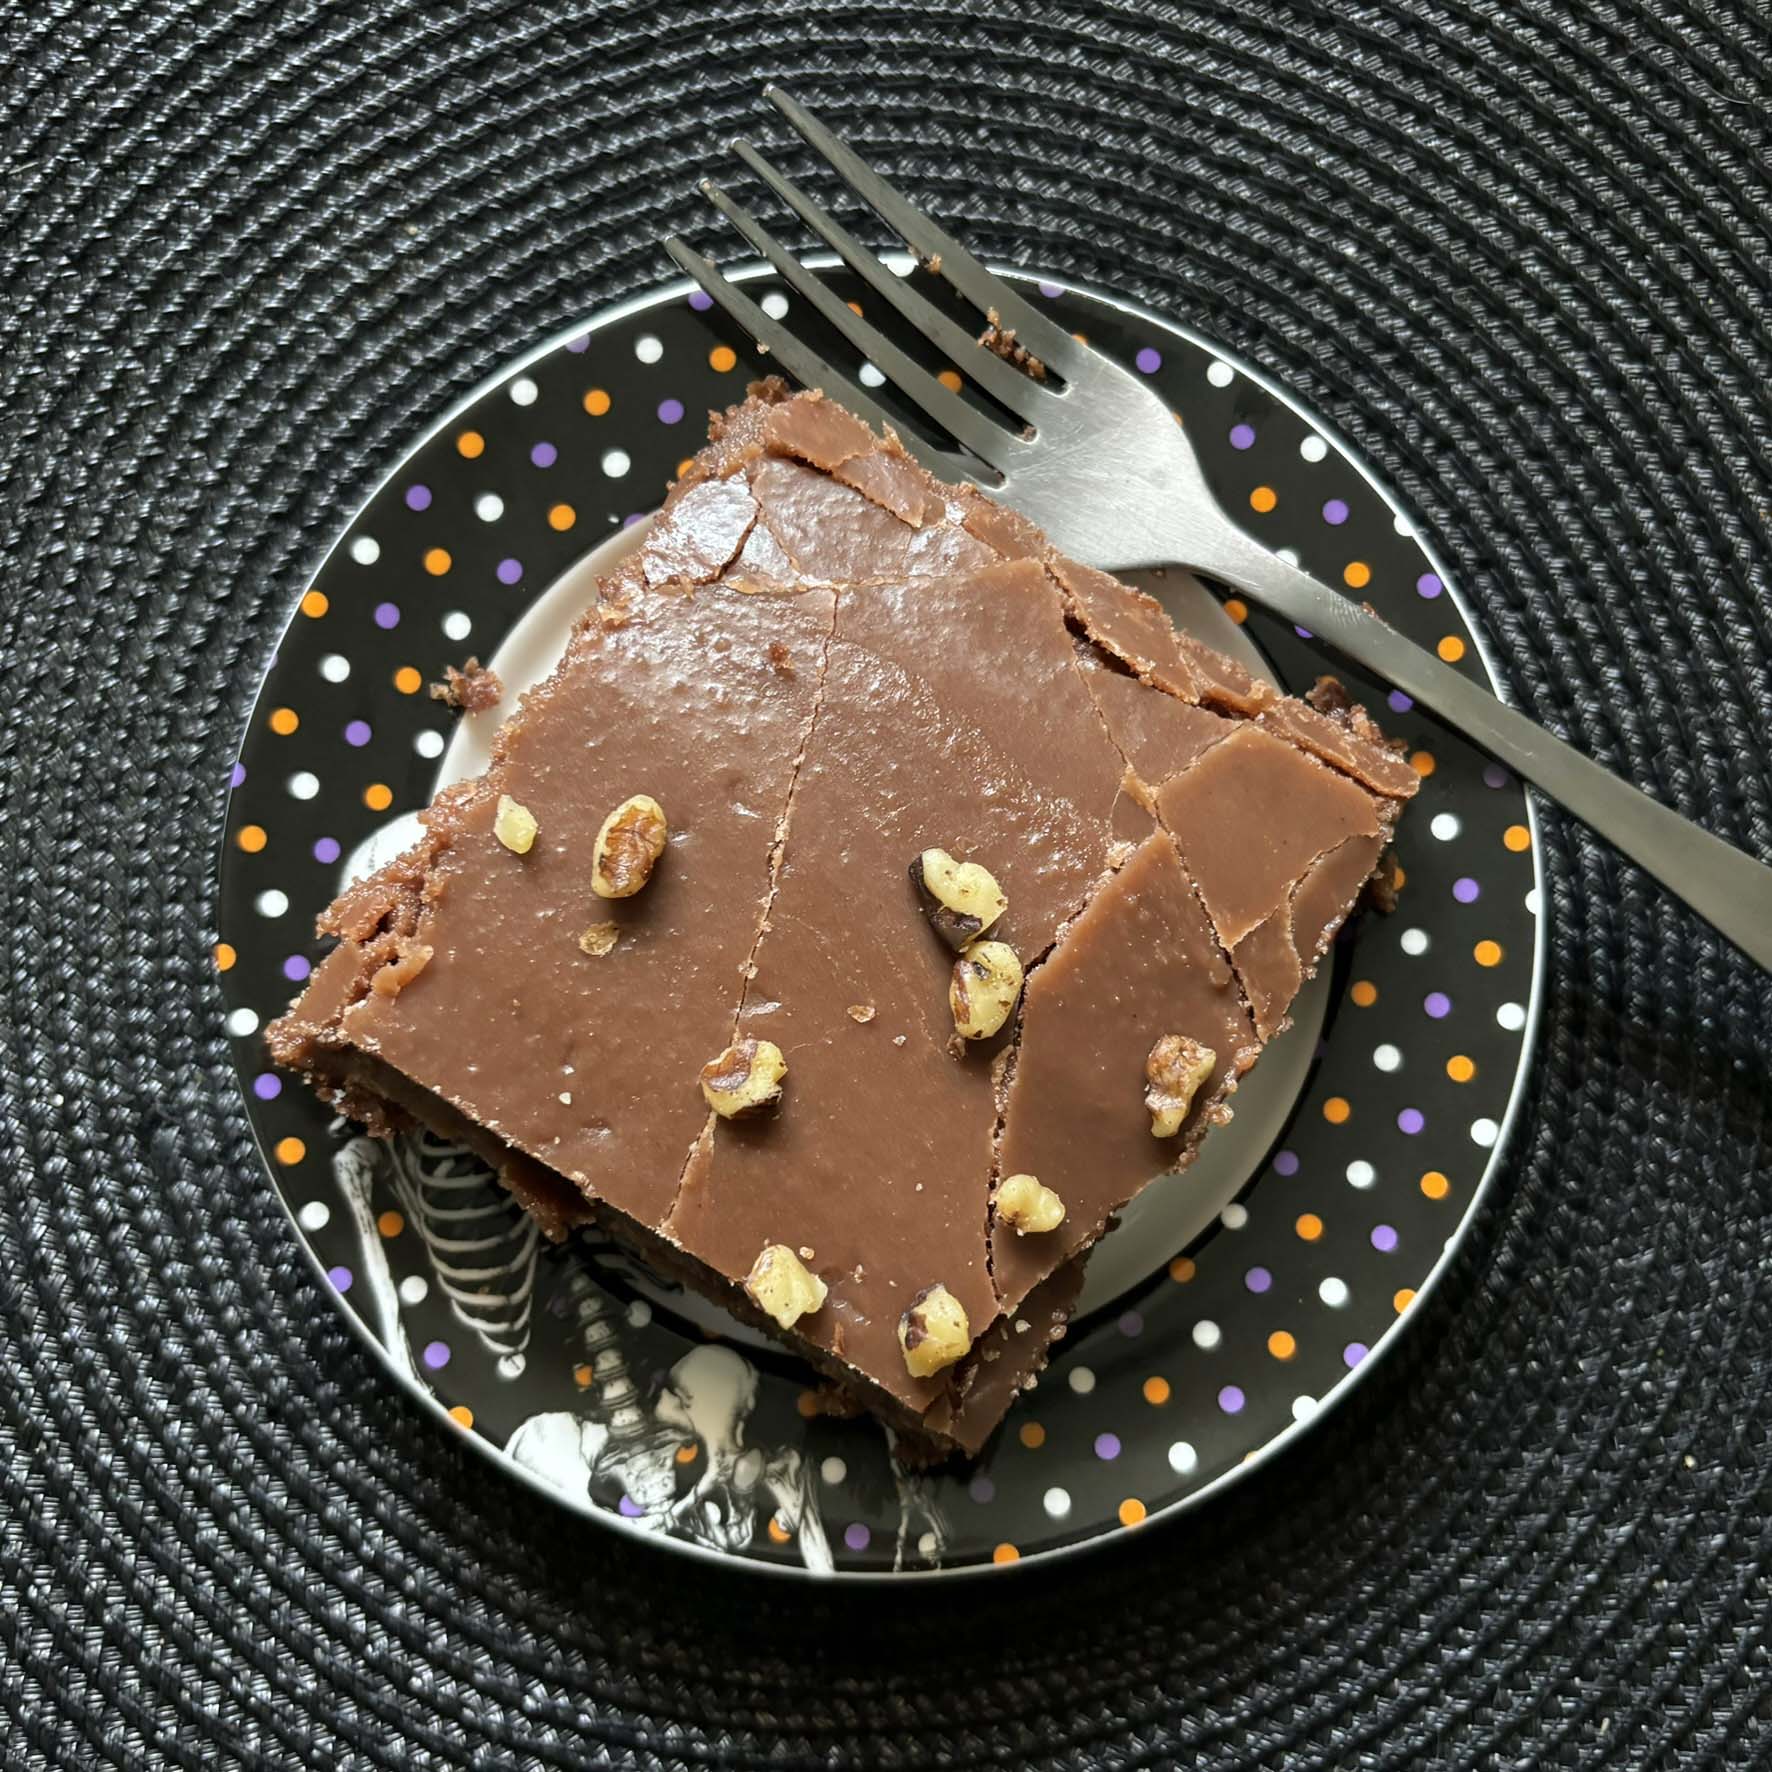
Texas Sheet Cake, recipe from the gravestone of Helen Sweers.
I love the way this Texas Sheet Cake turned out!
It’s chocolatey and moist, but the real highlight is the frosting. It adds just the right sweetness, although I’ll warn you—it’s really sweet, so a little slice goes a long way.
This cake is big, making it perfect for sharing at a family gathering or other special occasion. I made it to celebrate my birthday, and it was perfect for sharing with loved ones.
Recreating these gravestone recipes has become a meaningful way for me to connect with those whose stories live on in such a personal way. It’s a comforting reminder that food has a power that can bring us together, even across time. I always say that recreating these gravestone recipes really is the sweetest way to remember someone.
Will you be giving this recipe a try? I’d love to hear your thoughts, and experiences in the comments.
Thanks for reading!
References:
- Helen Sweers Obituary | Grand Rapids Press
- What Is Sour Milk — And Is It Safe To Use? | All Recipes