Some recipes are passed down through families, tucked into old cookbooks or written on well-worn recipe cards. Others show up in much more unexpected places. When I came across this one engraved on a gravestone, it immediately caught my attention, and January felt like the perfect time to try a recipe so closely tied to warmth, comfort, and family meals.
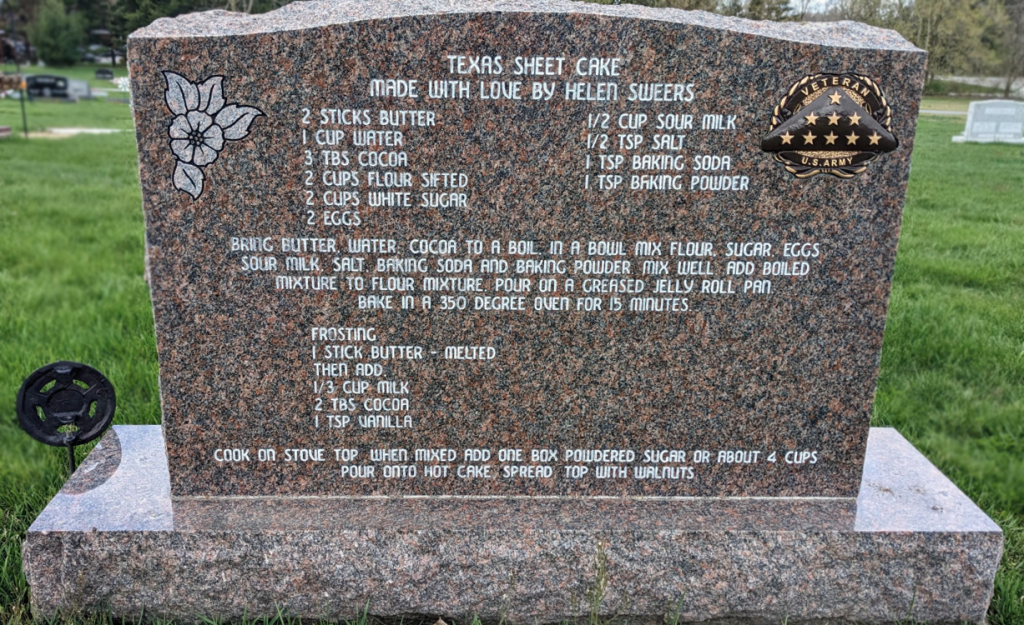
This month’s cemetery recipe comes from the gravestone of Isabella Margaret Carlson, who passed away on January 24, 2016. Her headstone is located in Ponto Lake Cemetery in Cass County, Minnesota, where her Easy Potato Rolls recipe is engraved directly into the stone. It’s a lasting and very personal memorial, and a reminder that food can be just as meaningful a legacy as words or photographs.¹
Isabella “Ise” Margaret Shamp Carlson was born on February 6, 1947, and her obituary reflects a life centered on family and close relationships. While it doesn’t specifically mention baking, the presence of this recipe on her gravestone makes me think that cooking played an important role in her daily life. As a mother, and grandmother, it’s easy to imagine her kitchen as a place where people gathered, food was shared, and traditions were quietly passed along.¹
I think the choice to memorialize Ise with a recipe means that these potato rolls were especially well-loved. Including them on her gravestone allows visitors to take something tangible with them, a recipe meant to be tried, shared, and enjoyed, rather than simply read.
Ise’s Find a Grave memorial also notes that she preferred using Yukon potatoes when making these rolls, a small detail that adds to the feeling of baking alongside her.²
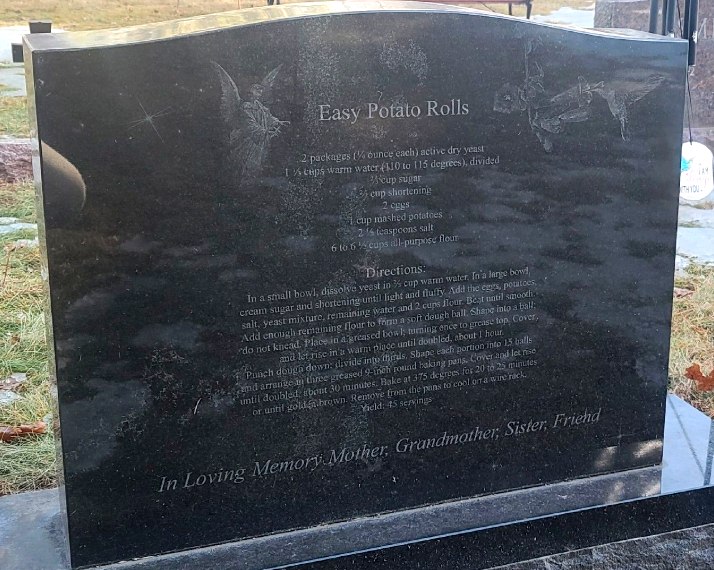
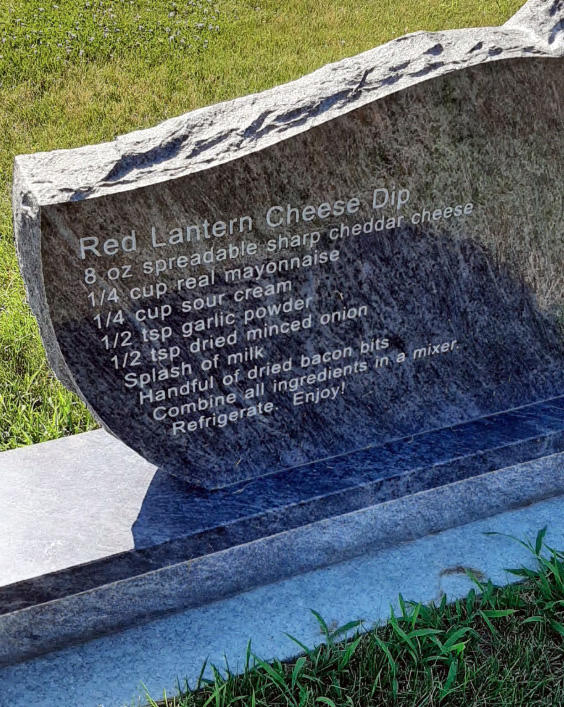
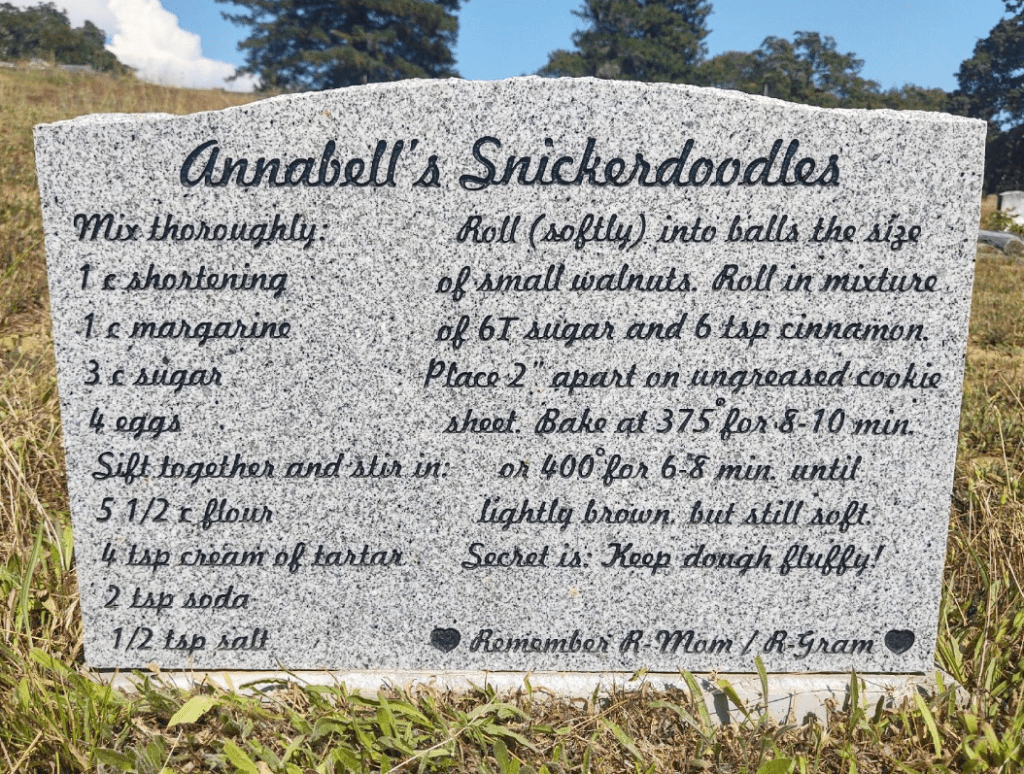
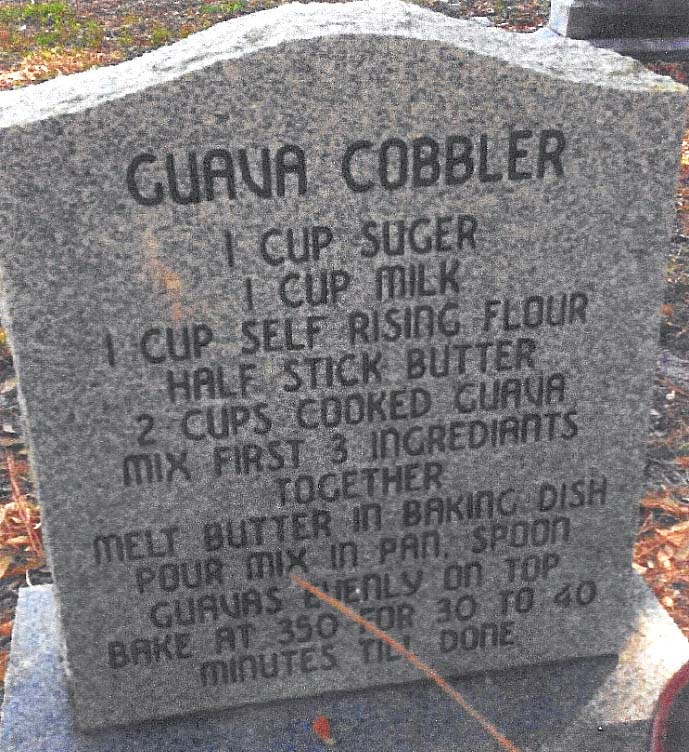
Gravetsone Recipe for Easy Potato Rolls. Photo by By Find a Grave contributor, Dan A.
Here is the recipe, as engraved on the headstone:
Easy Potato Rolls
- 2 packages (¼ oz. each) active dry yeast
- 1 ½ cups warm water (110 to 115 degrees), divided
- ⅔ cup sugar
- ⅔ cup shortening
- 2 eggs
- 1 cup mashed potatoes
- 2 ½ teaspoons salt
- 6 to 6 ½ cups all-purpose flour
Directions:
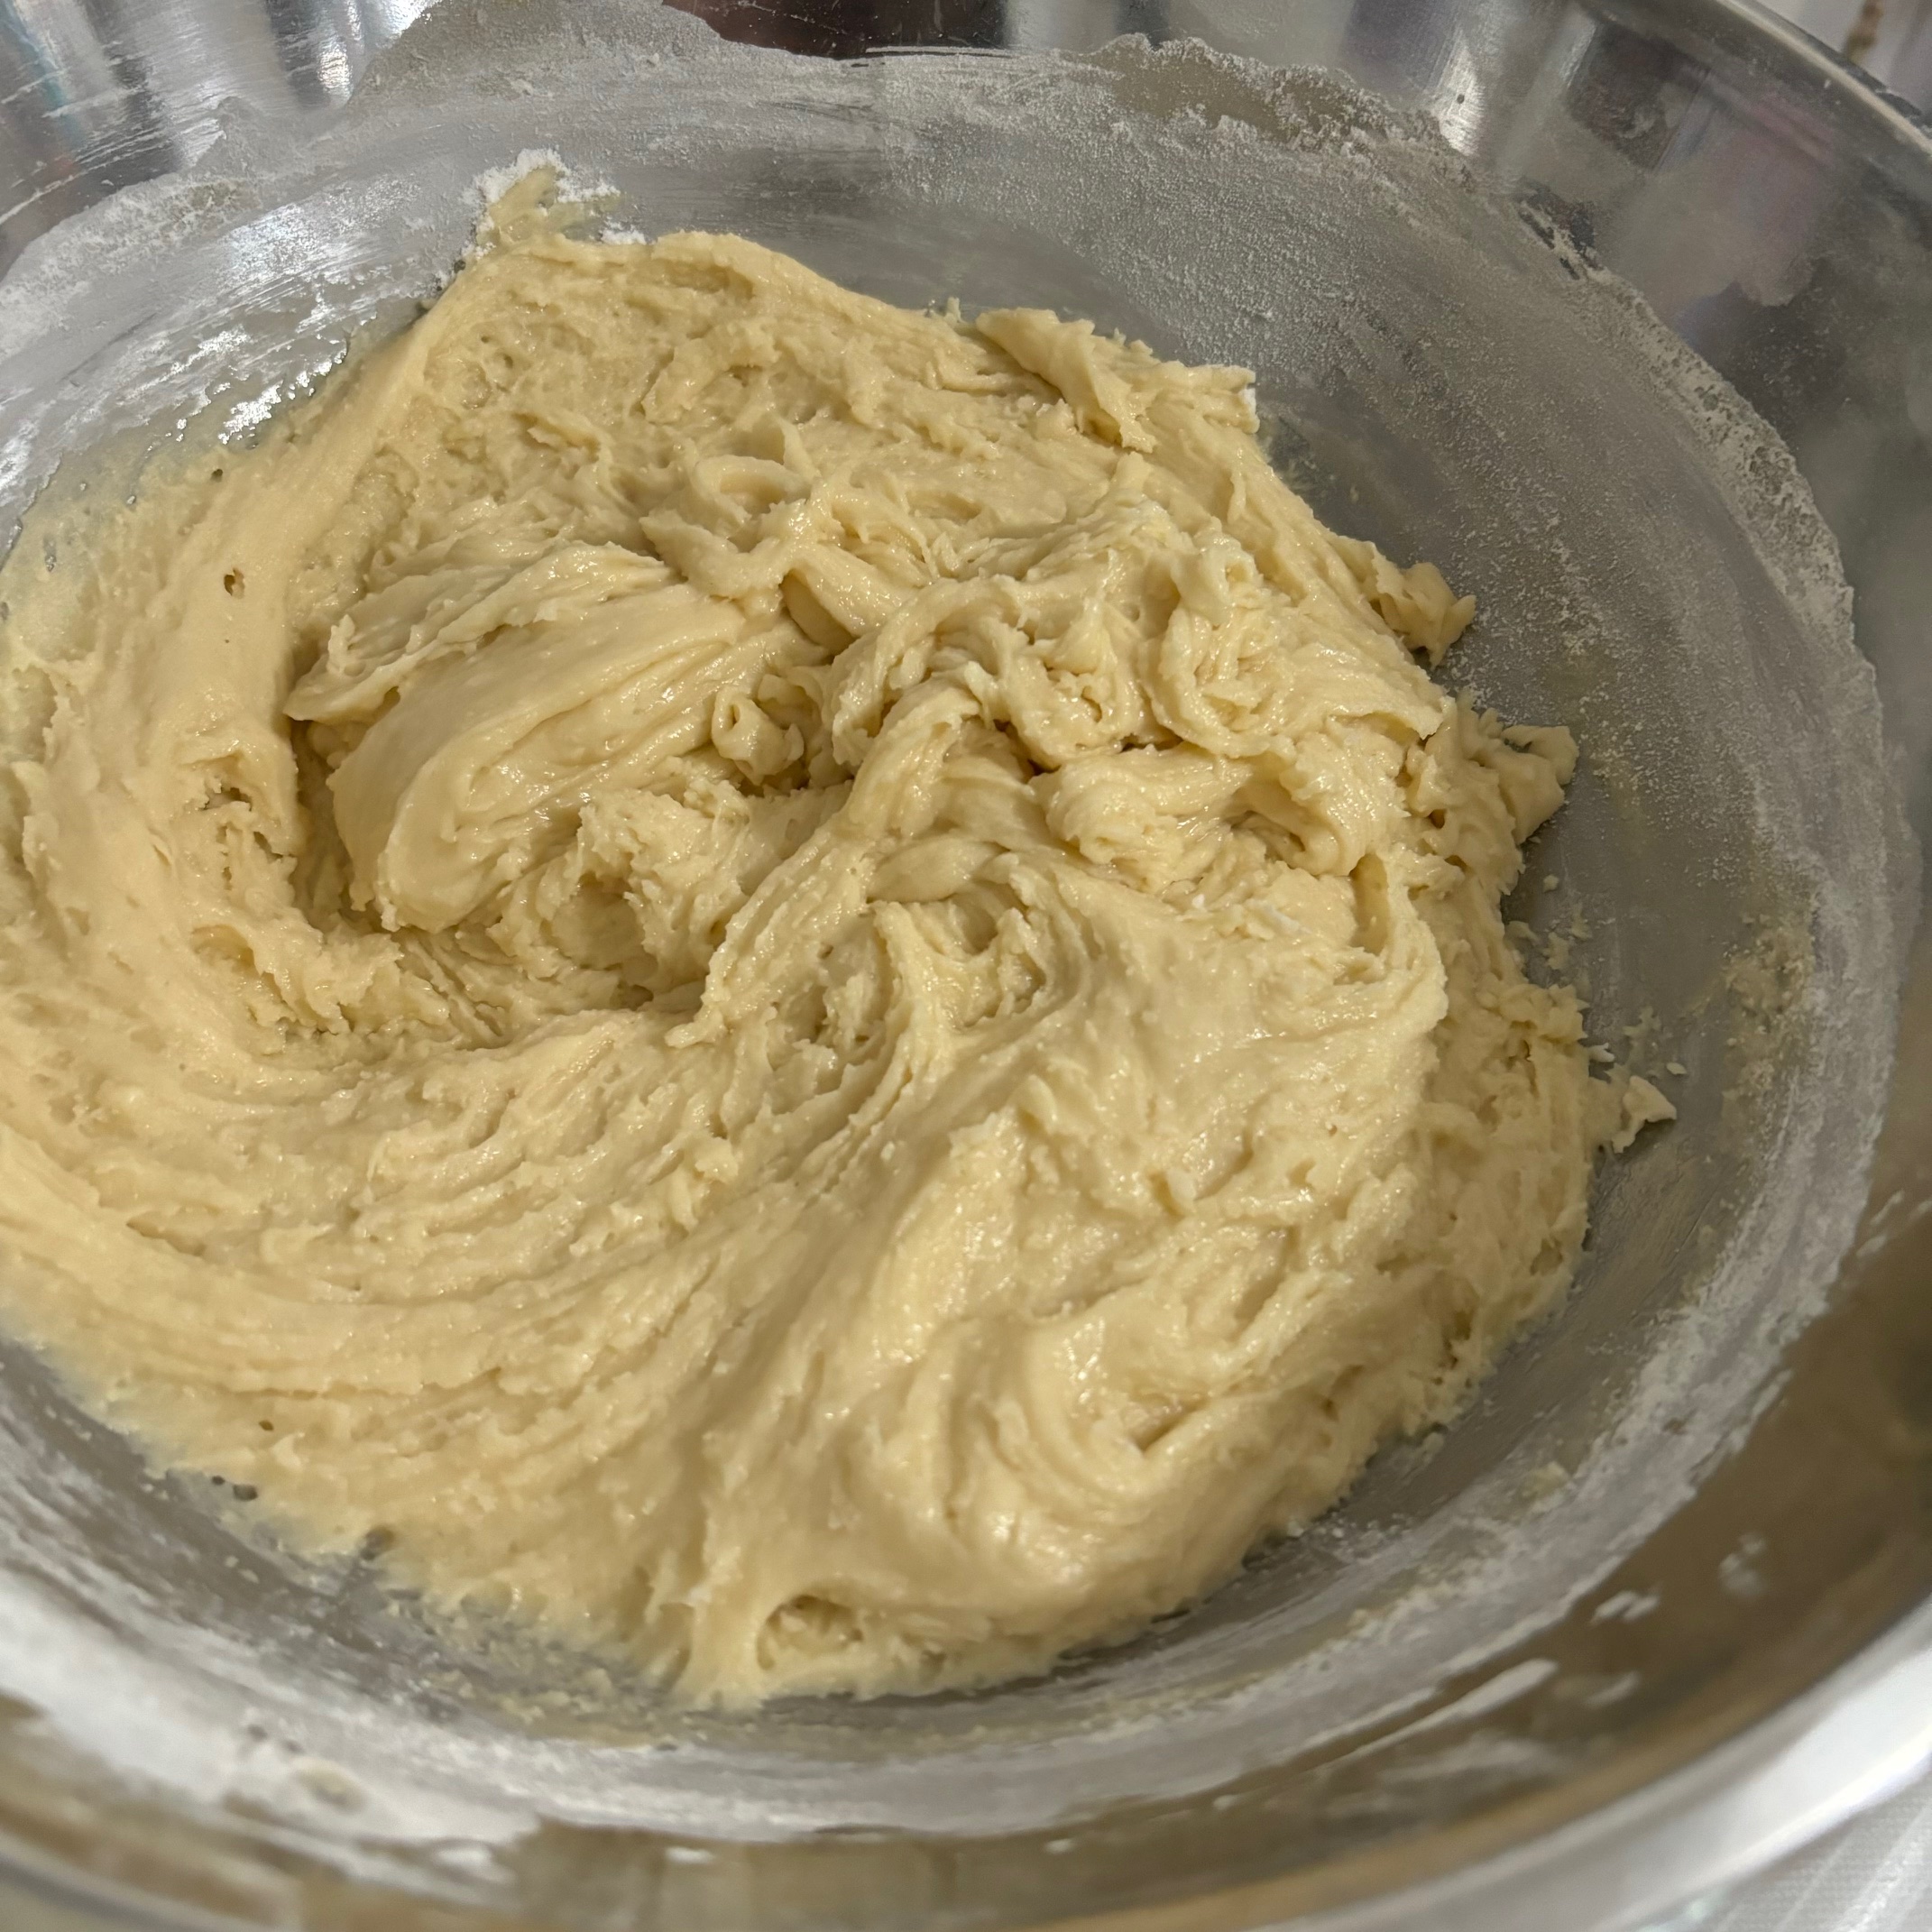
In a small bowl, dissolve yeast in ⅔ cup warm water. In a large bowl, cream sugar and shortening until light and fluffy. Add the eggs, potatoes, salt, yeast mixture, remaining water and 2 cups flour. Beat until smooth.
Add enough remaining flour to form a soft dough ball. Shape into a ball; do not knead. Place in a greased bowl; turning once to grease top. Cover and let rise in a warm place until doubled, about 1 hour.
Punch dough down; divide into thirds. Shape each portion into 15 balls and arrange in three greased 9-inch round baking pans. Cover and let rise until doubled, about 30 minutes. Bake at 375 degrees for 20 to 25 minutes or until golden brown. Remove from the pans to cool on a wire rack.
Yield: 45 servings
In Loving Memory: Mother; Grandmother; Sister; Friend.
In the Kitchen
This is my first-ever attempt at making bread. The instructions are so detailed on this recipe, that it gave me confidence that I could pull it off, even with no experience.
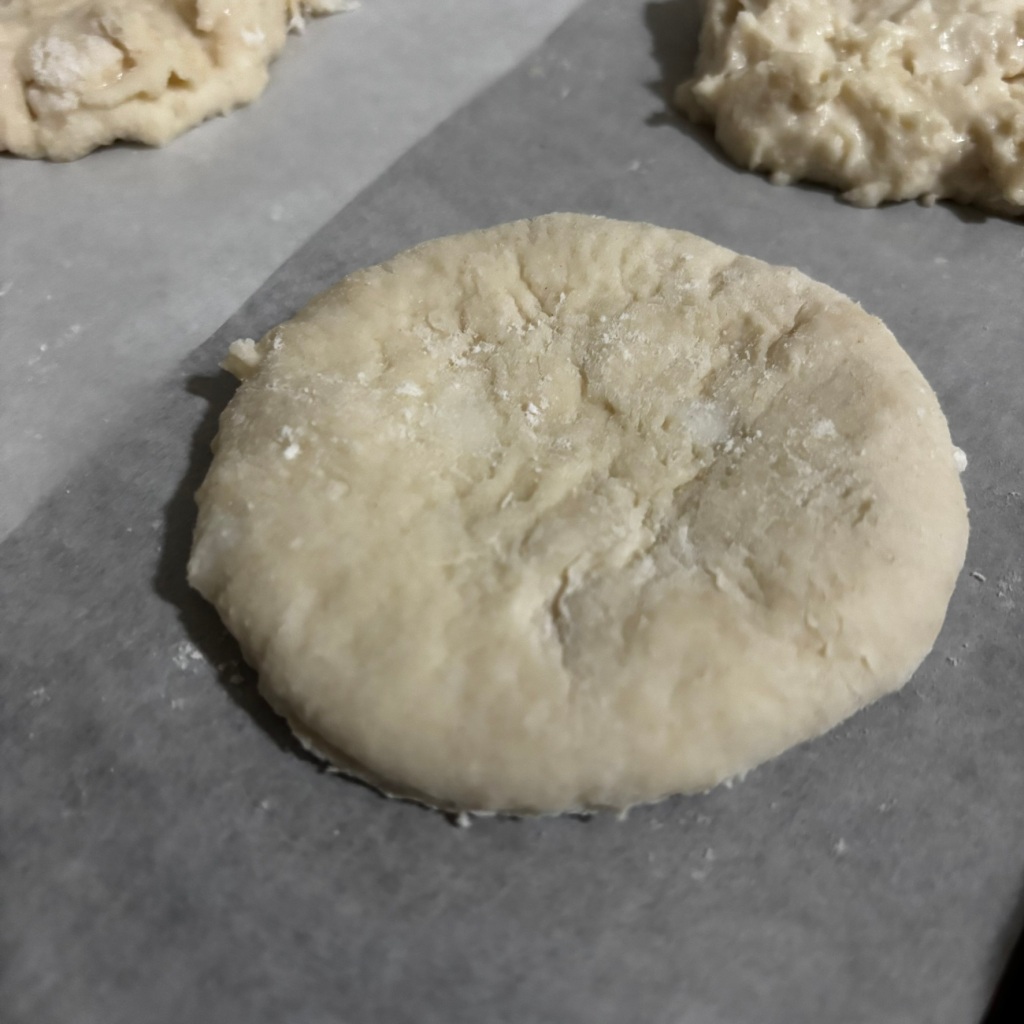
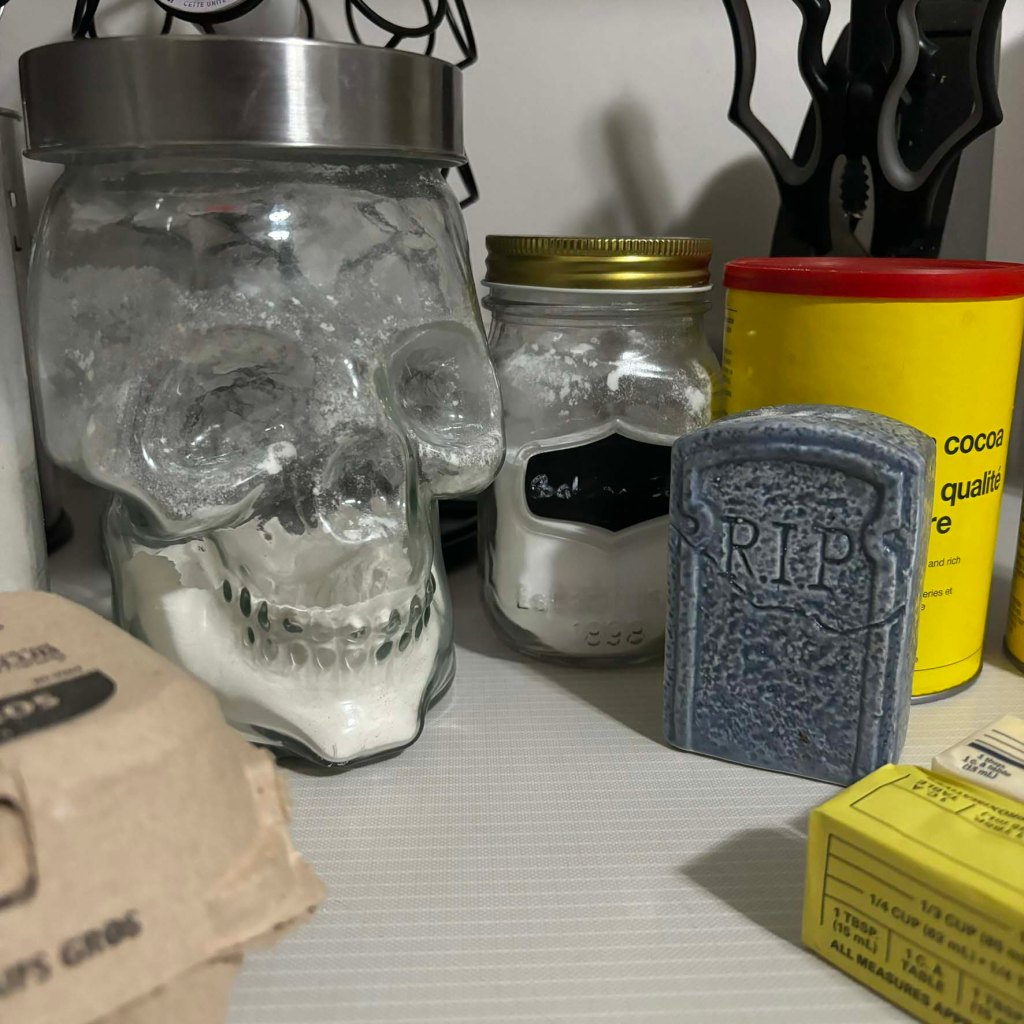
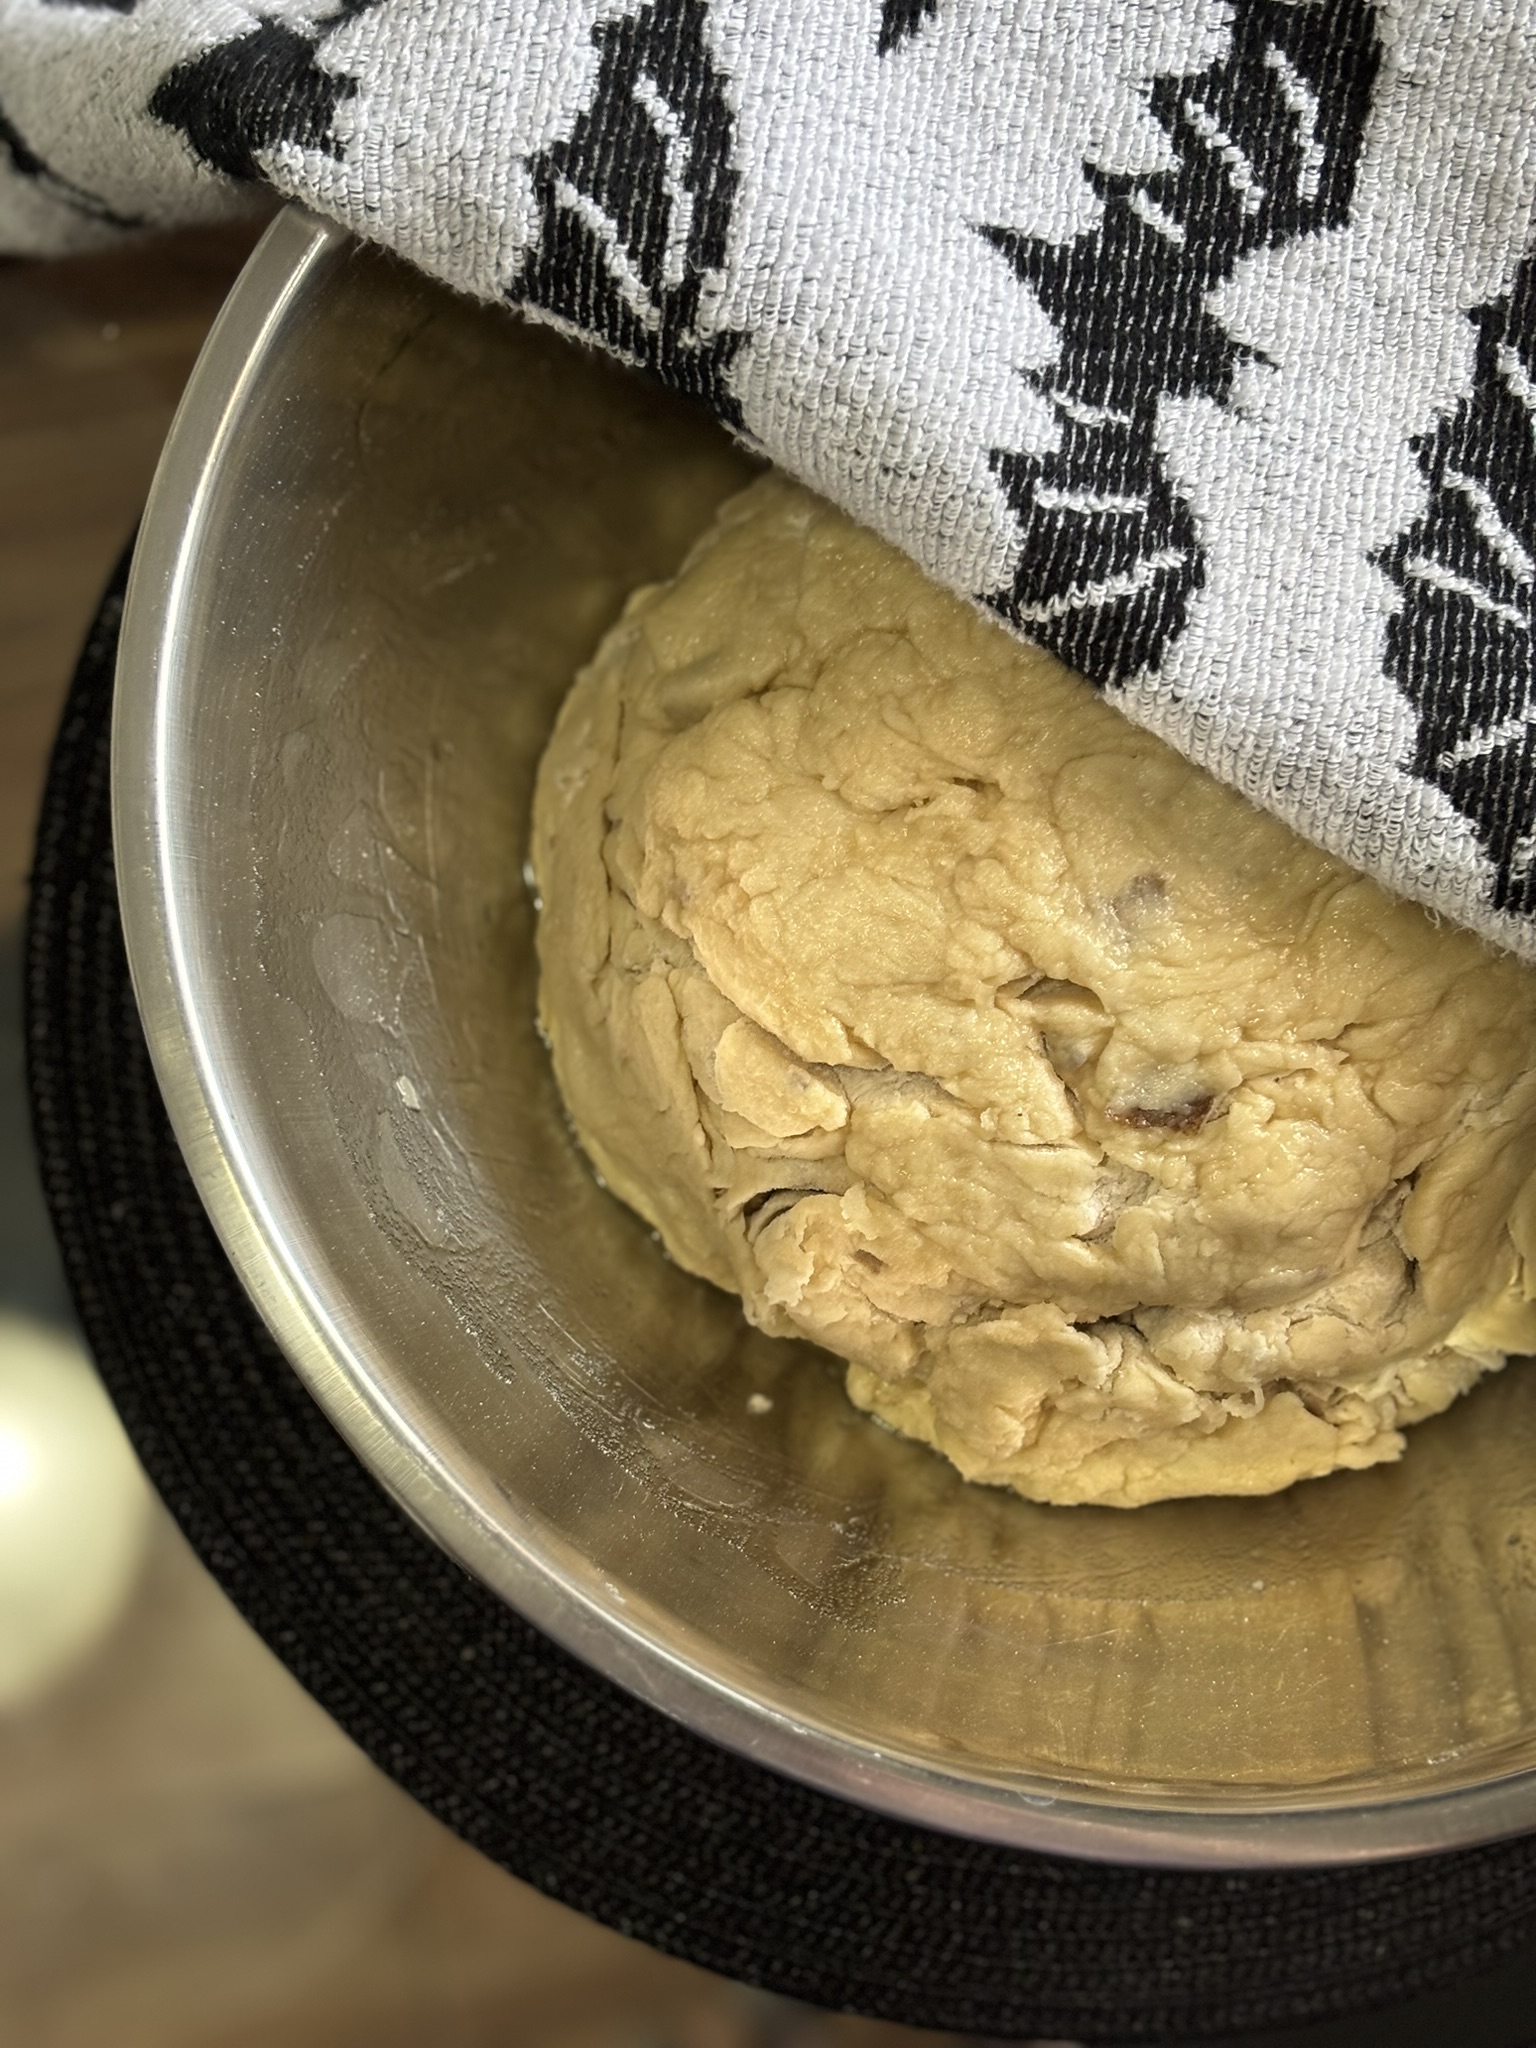
The ingredients were easy to pull together. I used russet potatoes that I had left over from a previous meal, instead of Yukon potatoes. I’ll admit I was feeling a little lazy and left the skins on when I mashed them. Thankfully, it didn’t affect the taste at all. You can see the little flecks of potato skin throughout the rolls, but I think it adds character.

There are quite a few steps for this recipe, but I found the time between steps helpful, to pause and think about the process and where this recipe comes from. It did also give me some time to worry over it too.
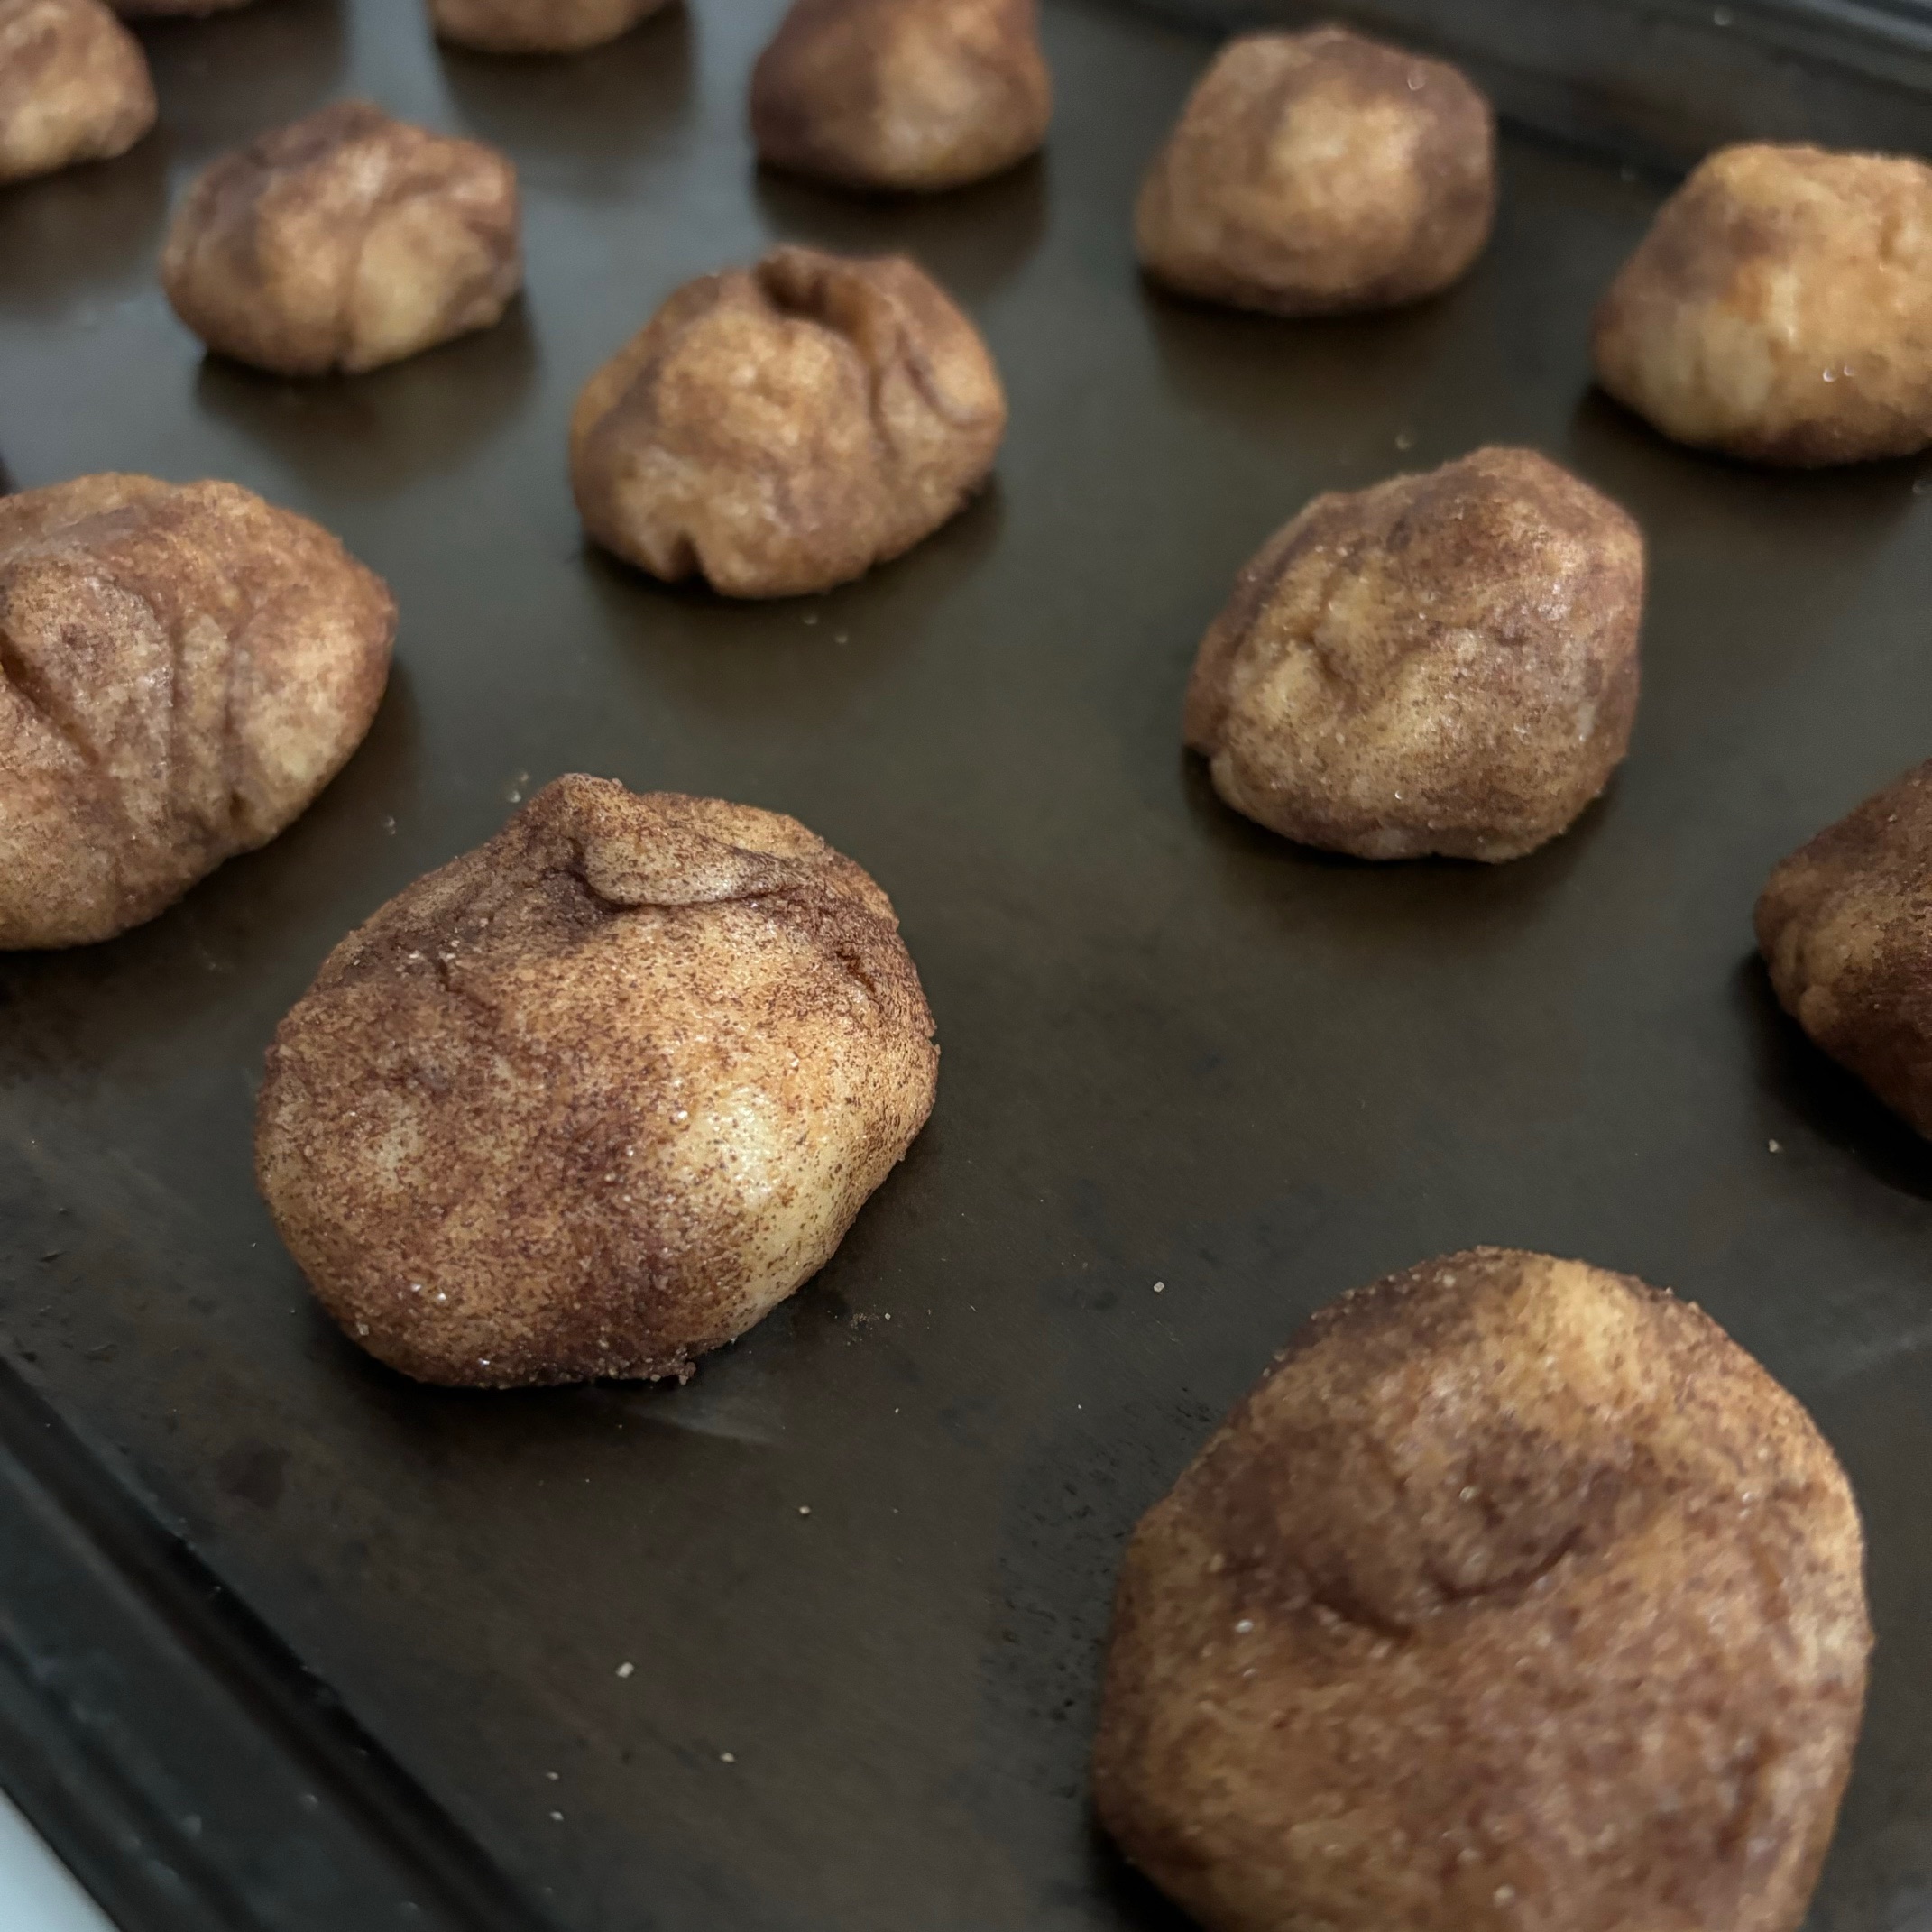
I wasn’t sure about the first rise, as the dough didn’t seem to puff up as much as I expected. After I separated the dough into sections and rolled them into balls, I let them rest for another 30 minutes. This time they did rise a lot more nicely. Trust the process, right?
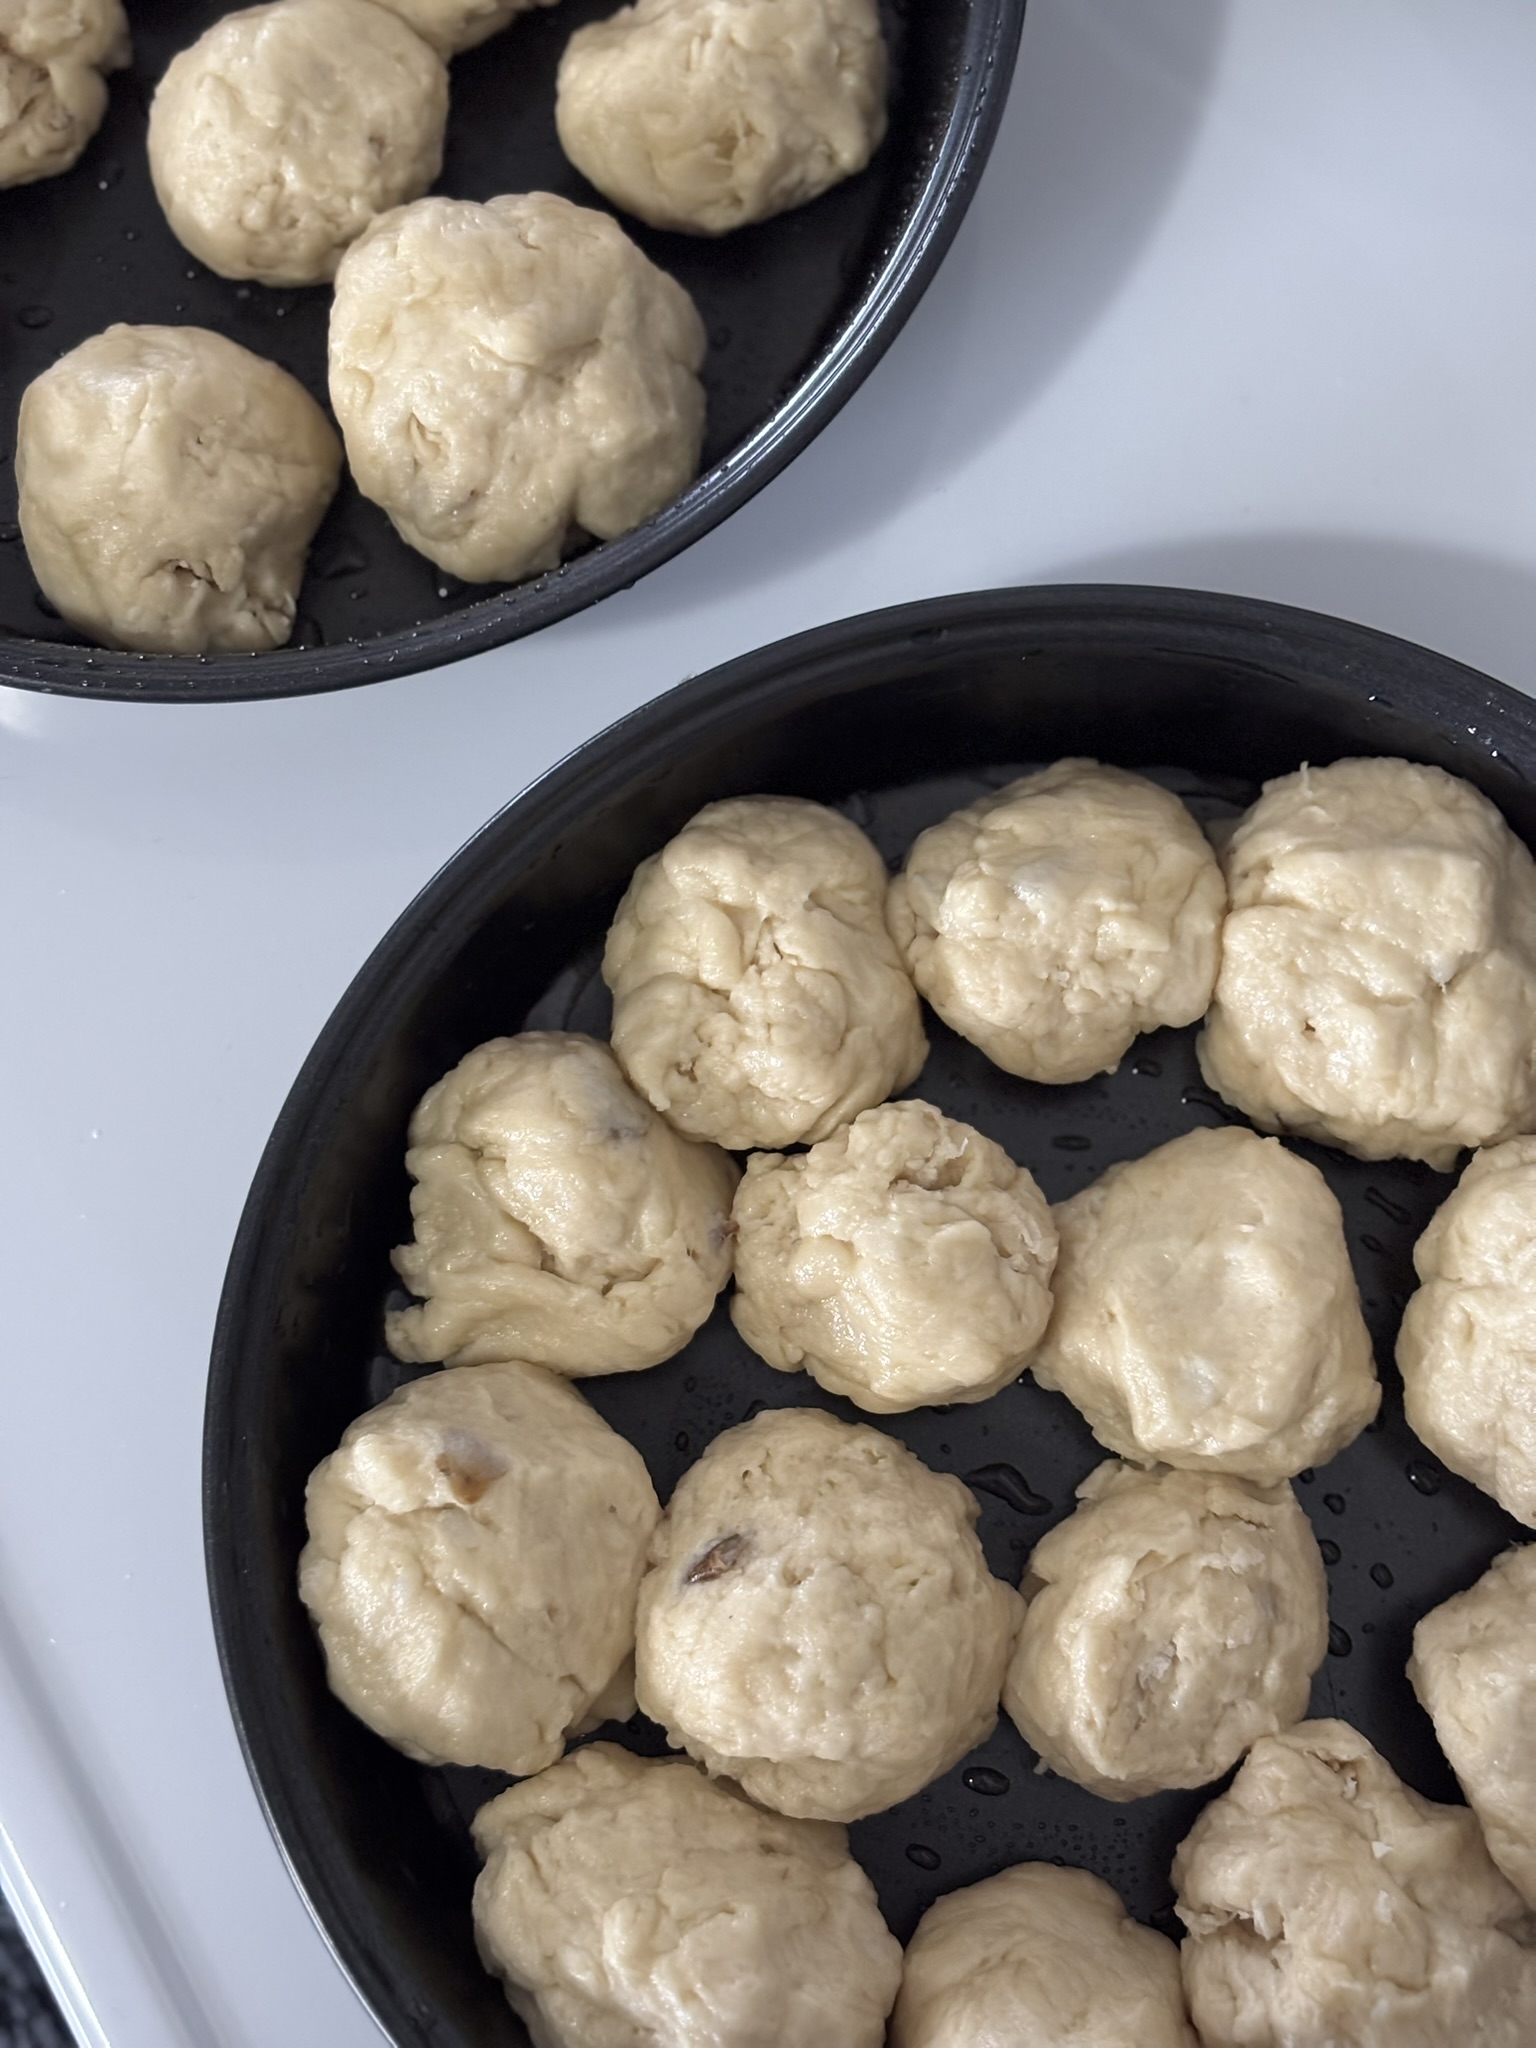
Because of that slower first rise, I didn’t end up with the full 45 rolls mentioned on the gravestone. I finished with 34 rolls, which is still a pretty good batch.
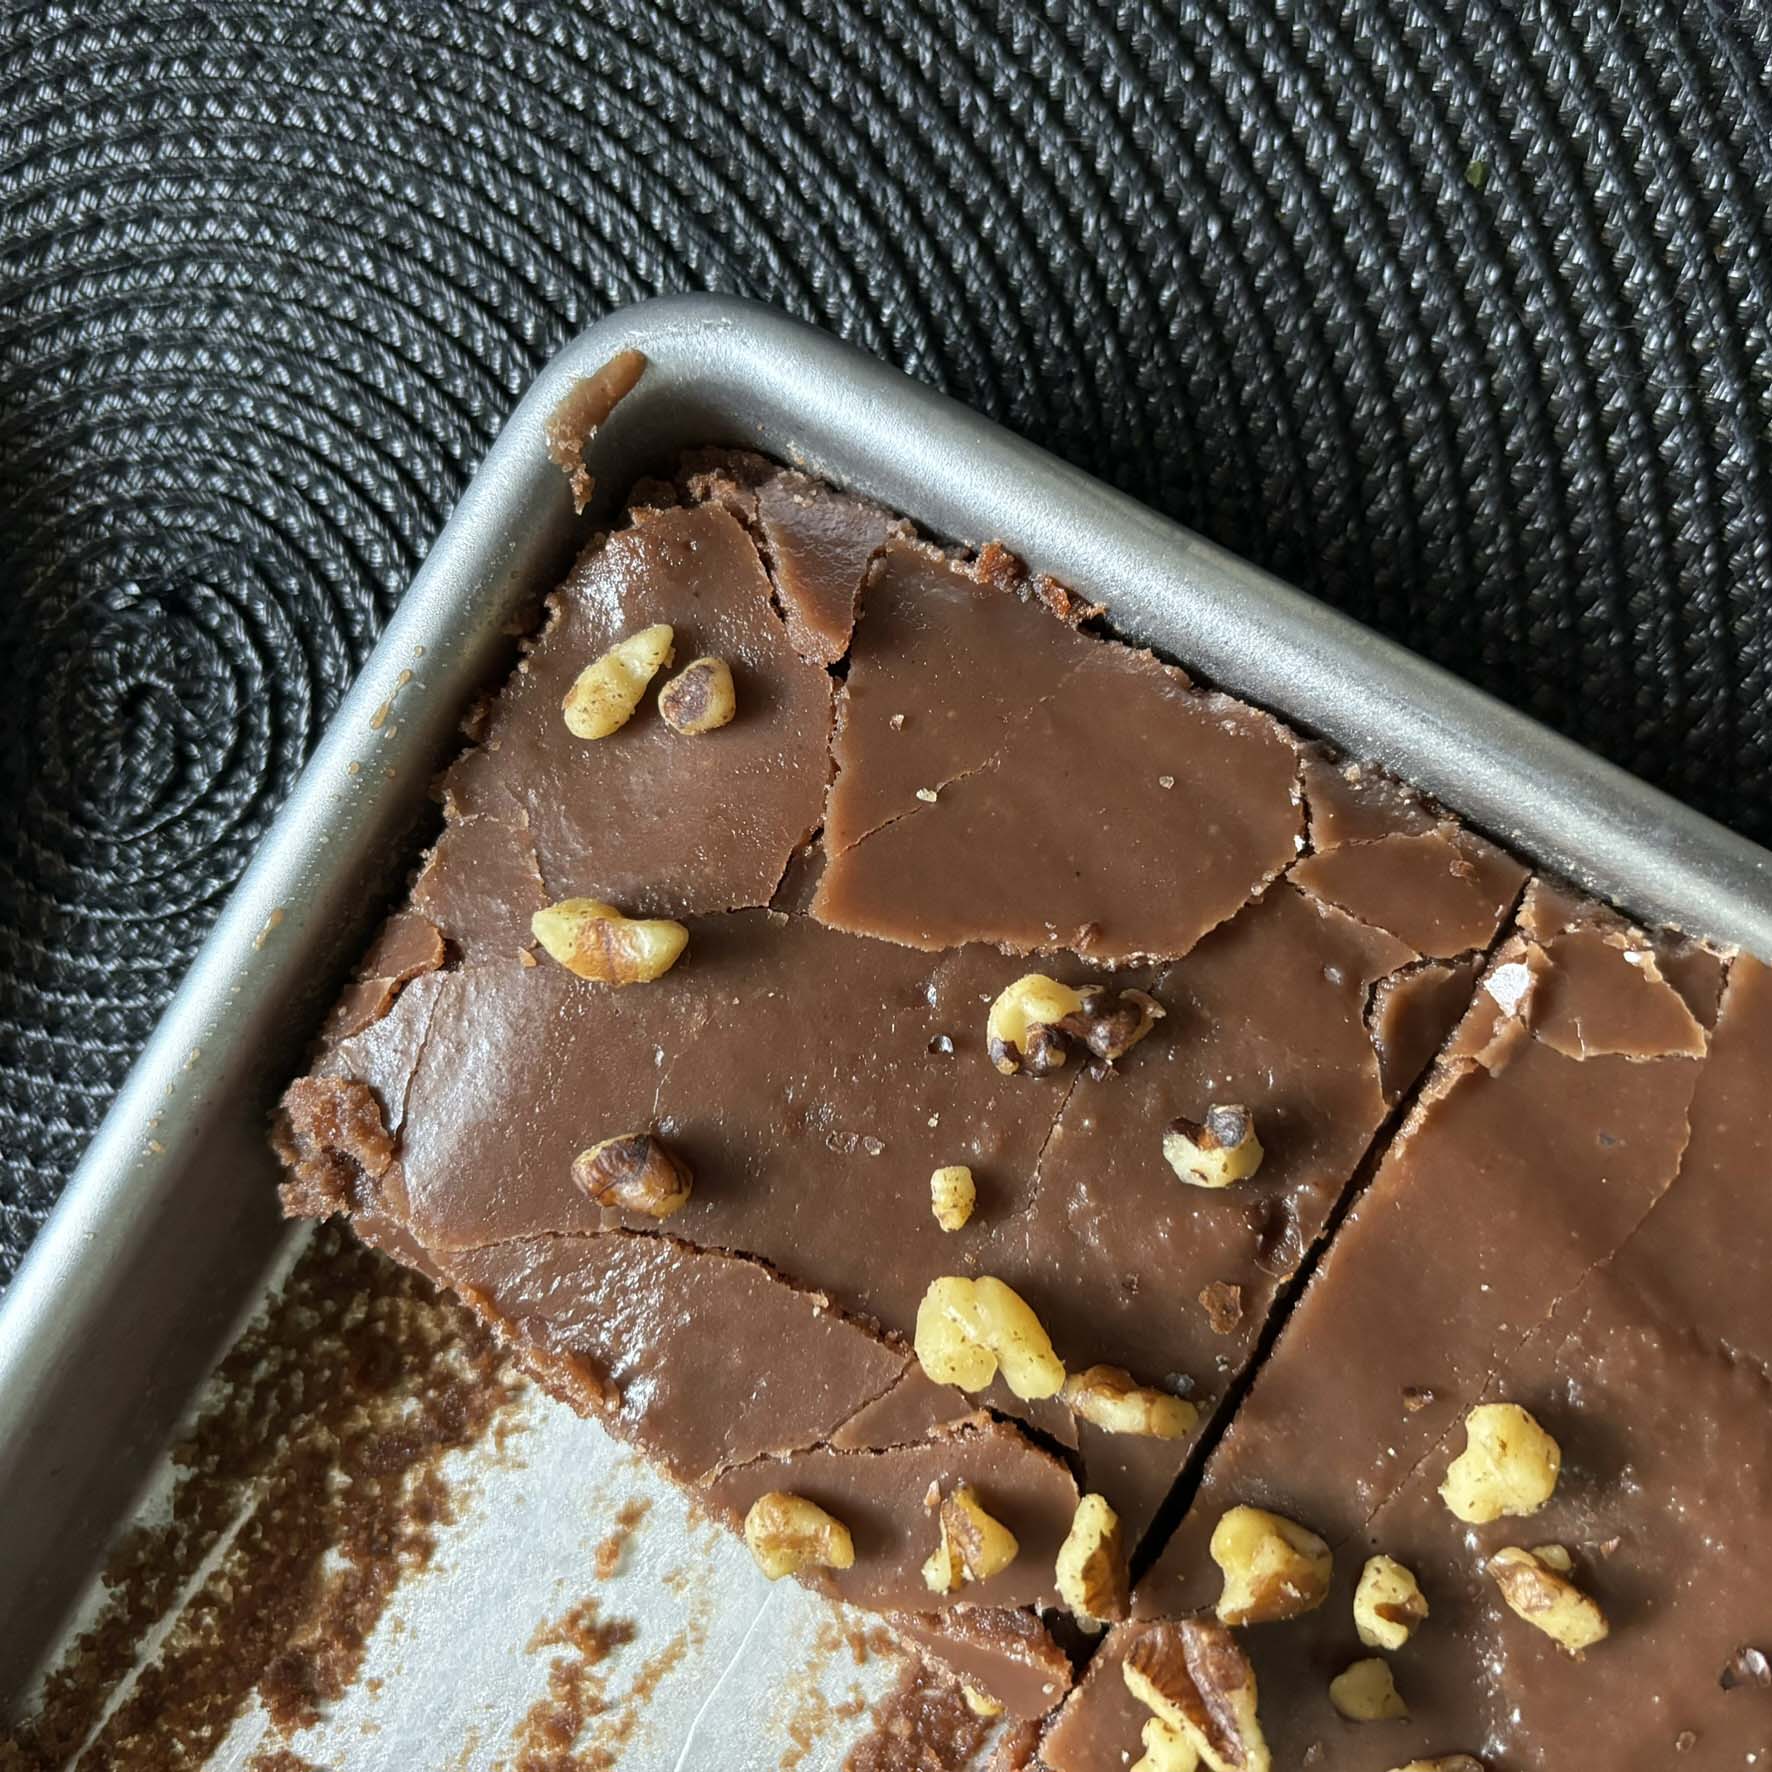
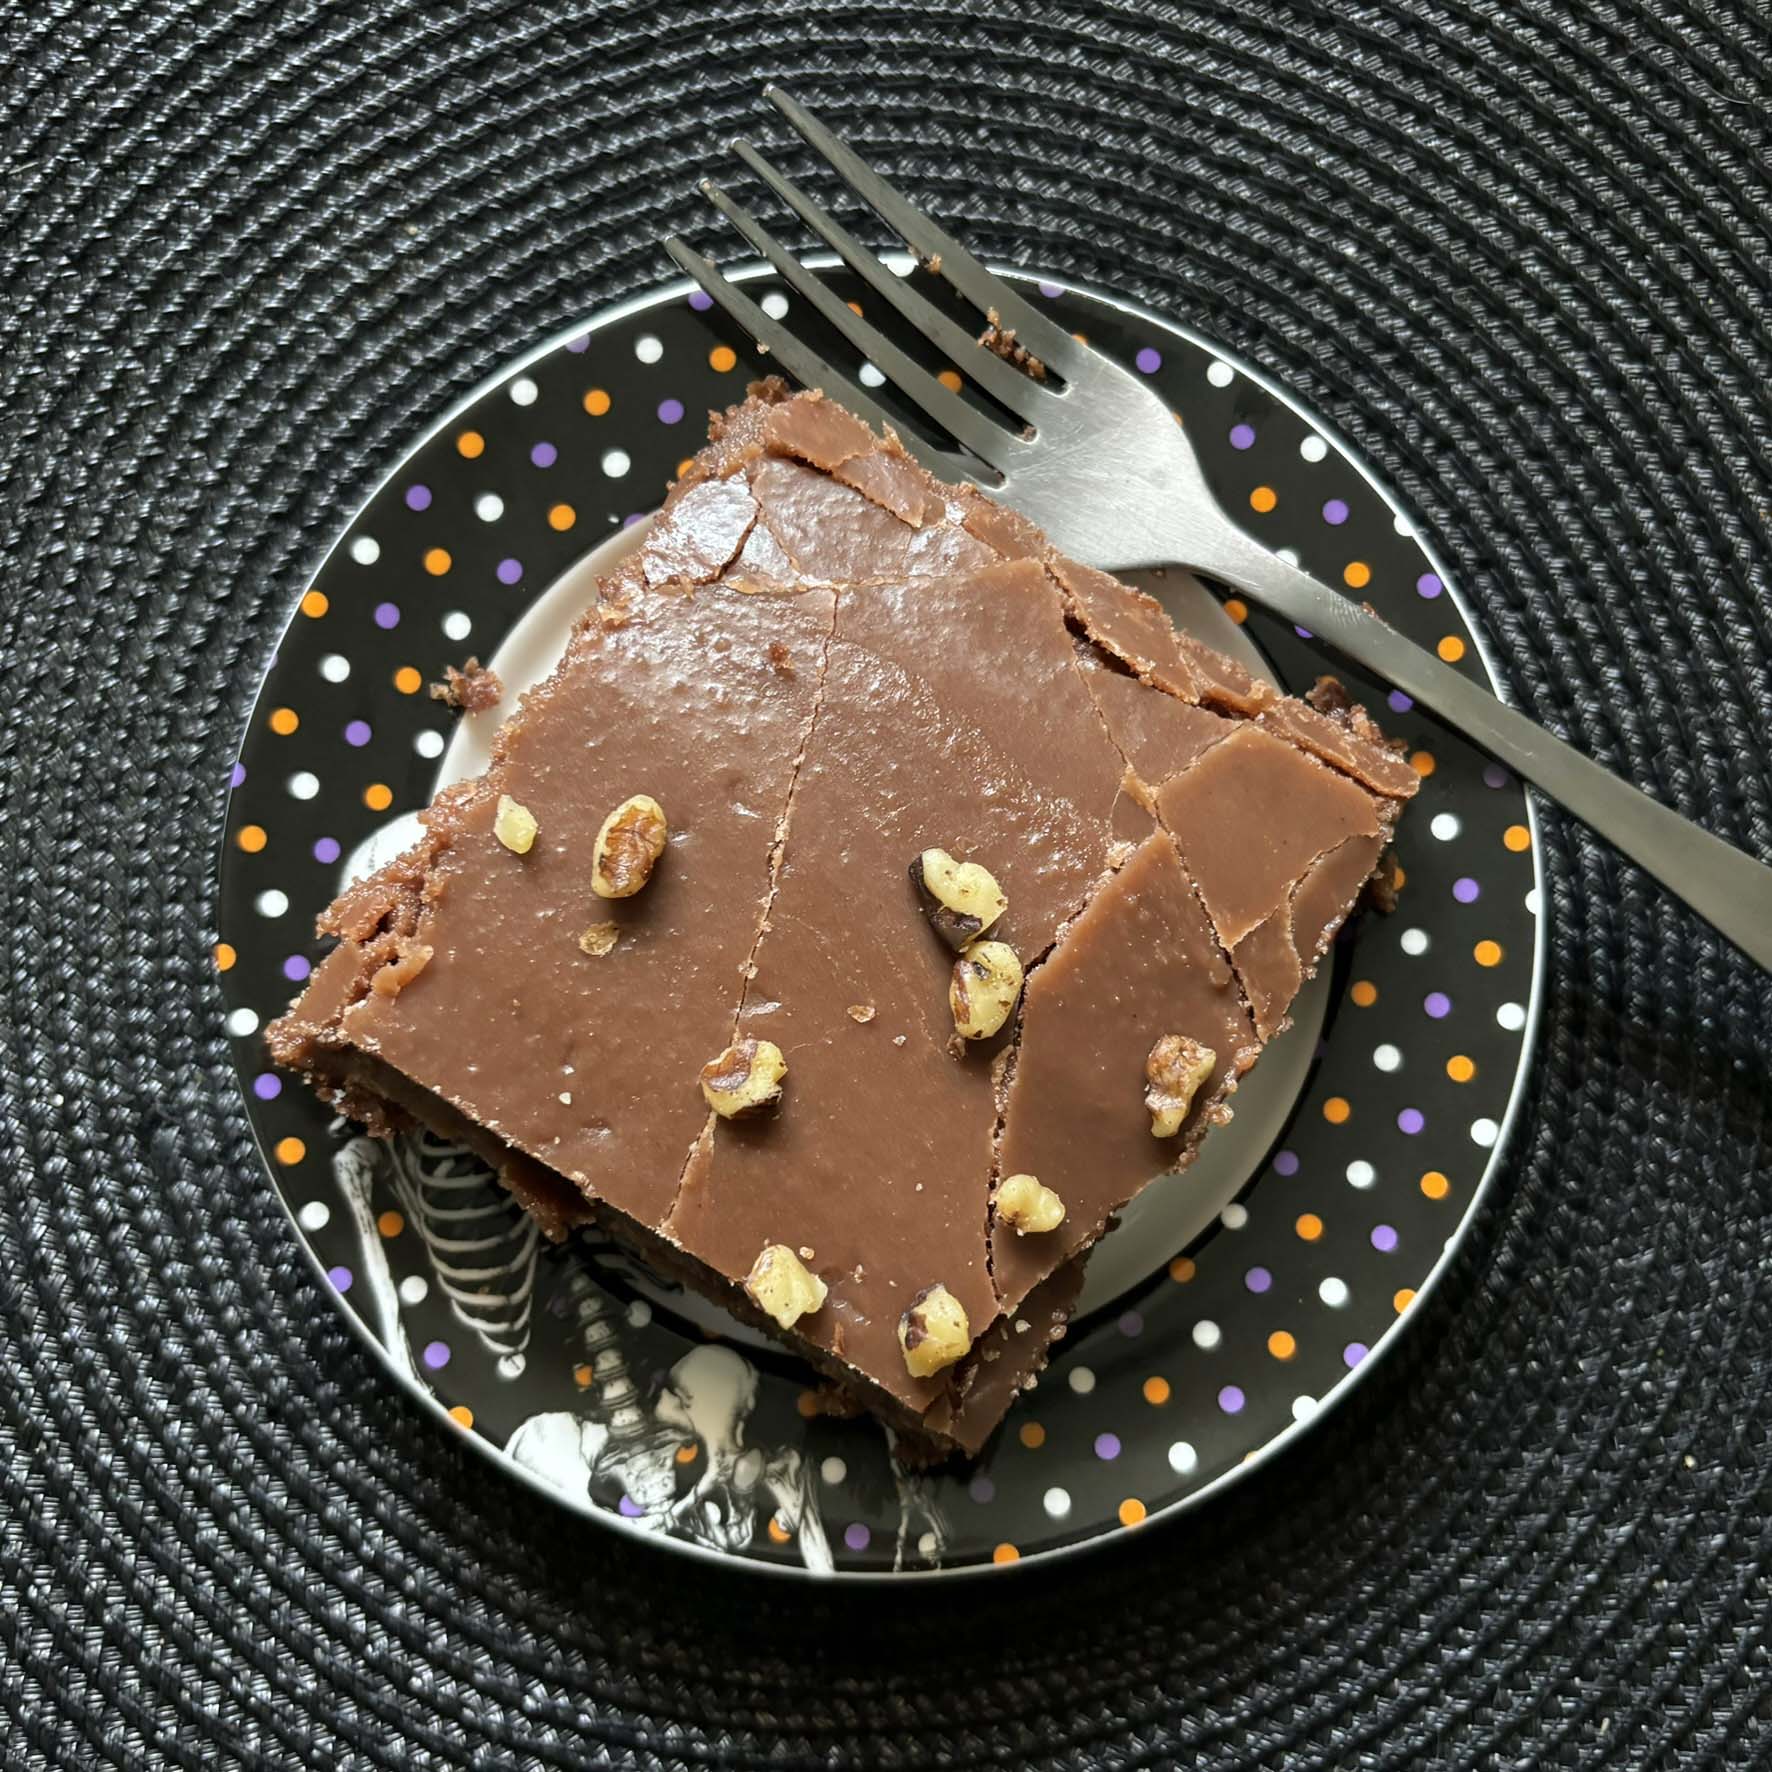
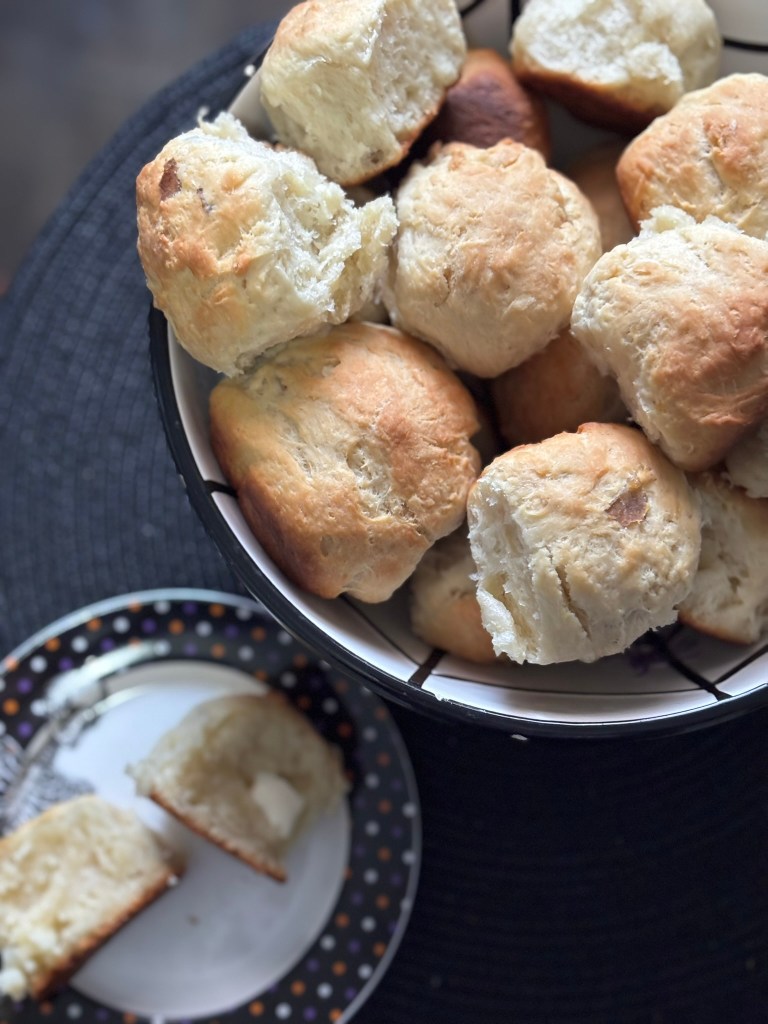
I baked the rolls for 20 minutes, checked on them, and then rotated the pans on the top rack because the one at the back was getting a little too brown. After another five minutes in the oven, they came out perfectly golden and smelled amazing. The rolls were soft, fluffy, and I think would be a great addition to pretty much any meal. I was happy to share them with my mom and my fiancé, which felt very fitting for a recipe so rooted in family.
Trying Ise’s Easy Potato Rolls felt like more than just baking bread. It felt like taking part in a story that began long before I ever read her name on a gravestone. Recipes like this turn cemeteries into places of connection, not just remembrance, and remind us that legacy can live on through the simplest things, like a shared meal or a well-loved family recipe. I’m grateful for the chance to carry these stories forward, one bake at a time.
Thanks for reading!
References:
- Isabella Carlson (Obituary) | Brenny Family Funeral Chapel
- Isabella Margaret “Ise” Shamp Carlson | Find a Grave